If it's your first time carving a Halloween pumpkin with your family, or you're just looking for fun new pumpkin carving ideas for kids, you've come to the right place.
We've narrowed down what you need to know about pumpkin carving, including a step-by-step guide on how to carve pumpkin for beginners; what you might need to buy (from carving kits to special tools and spooktastic stencils); plus, some creepy, weird, cute, funny, and let's not forget positively terrifying Halloween-themed easy pumpkin carving ideas for kids to choose from.
Let's get started...
Simple pumpkin carving ideas for kids
Before we get into how to carve a pumpkin, what you'll need, and start to answer some of the burning questions you have - let's take a look at some fun pumpkin carving ideas to get you and your family inspired.
Pumpkin Cottage (for the fairies and goblins)

We absolutely adore this pumpkin cottage, and think little ones will love the idea of carving a safe haven for the pixies in their garden on the spookiest night of the year! They can even place their smallest of toys inside and play during the day, before you put in the tea light to light up the little house in the evening. So cute!
Spooky pumpkin eyeball (Feel like you're being watched?)

Are you looking for scary pumpkin carving ideas? Well, if this Halloween pumpkin design isn't eye-catching, we don't know what is! To recreate this creeper you'll need a smaller pumpkin (painted white with the iris) to place inside the bigger one as the eyeball.
We love the fact that it'll feel like the eye is looking at kids as they approach your house to do their trick-or-treating. For maximum creep-effect, you could carve several of these leading up to your front door along with your other spooktacular Halloween decorations - to really make kids feel like they're being watched!
Mini pumpkin cave scene on a plate with tea lights (for indoors)

If you're after cute pumpkin designs or small pumpkin carving ideas, this little Autumnal scene is rather lovely, and perfect to display indoors in your living room.
Kids will love getting involved to help create a garden on a plate for the little pumpkin cave. And the whole family will be able to enjoy it when it's all lit up with the tea lights while watching scary Halloween movies.
It's ideal if you want to avoid a big mess carving an enormous pumpkin - instead you can find one of those cute mini ones , which will be easy peasy to carve into this simple hollowed out cave.
Mini howling pumpkins

We know your little ones probably won't get what's going on here, but we love the simple carved design and thought it'd be a great idea for a no-fuss howling pumpkin head. The googly-eyes will probably go down well with your little ones too.
Cool carved pumpkin with lollipop dispenser mohawk

Here's one for the cool kids! You can carve any design for the face, but we like this one with its easy straight cuts. The coolest thing about it, of course, is the lollipop mohawk that doubles up as a candy-dispenser for Halloween night when the trick-or-treaters come knocking for Halloween sweets.
Pastel-painted pumpkins
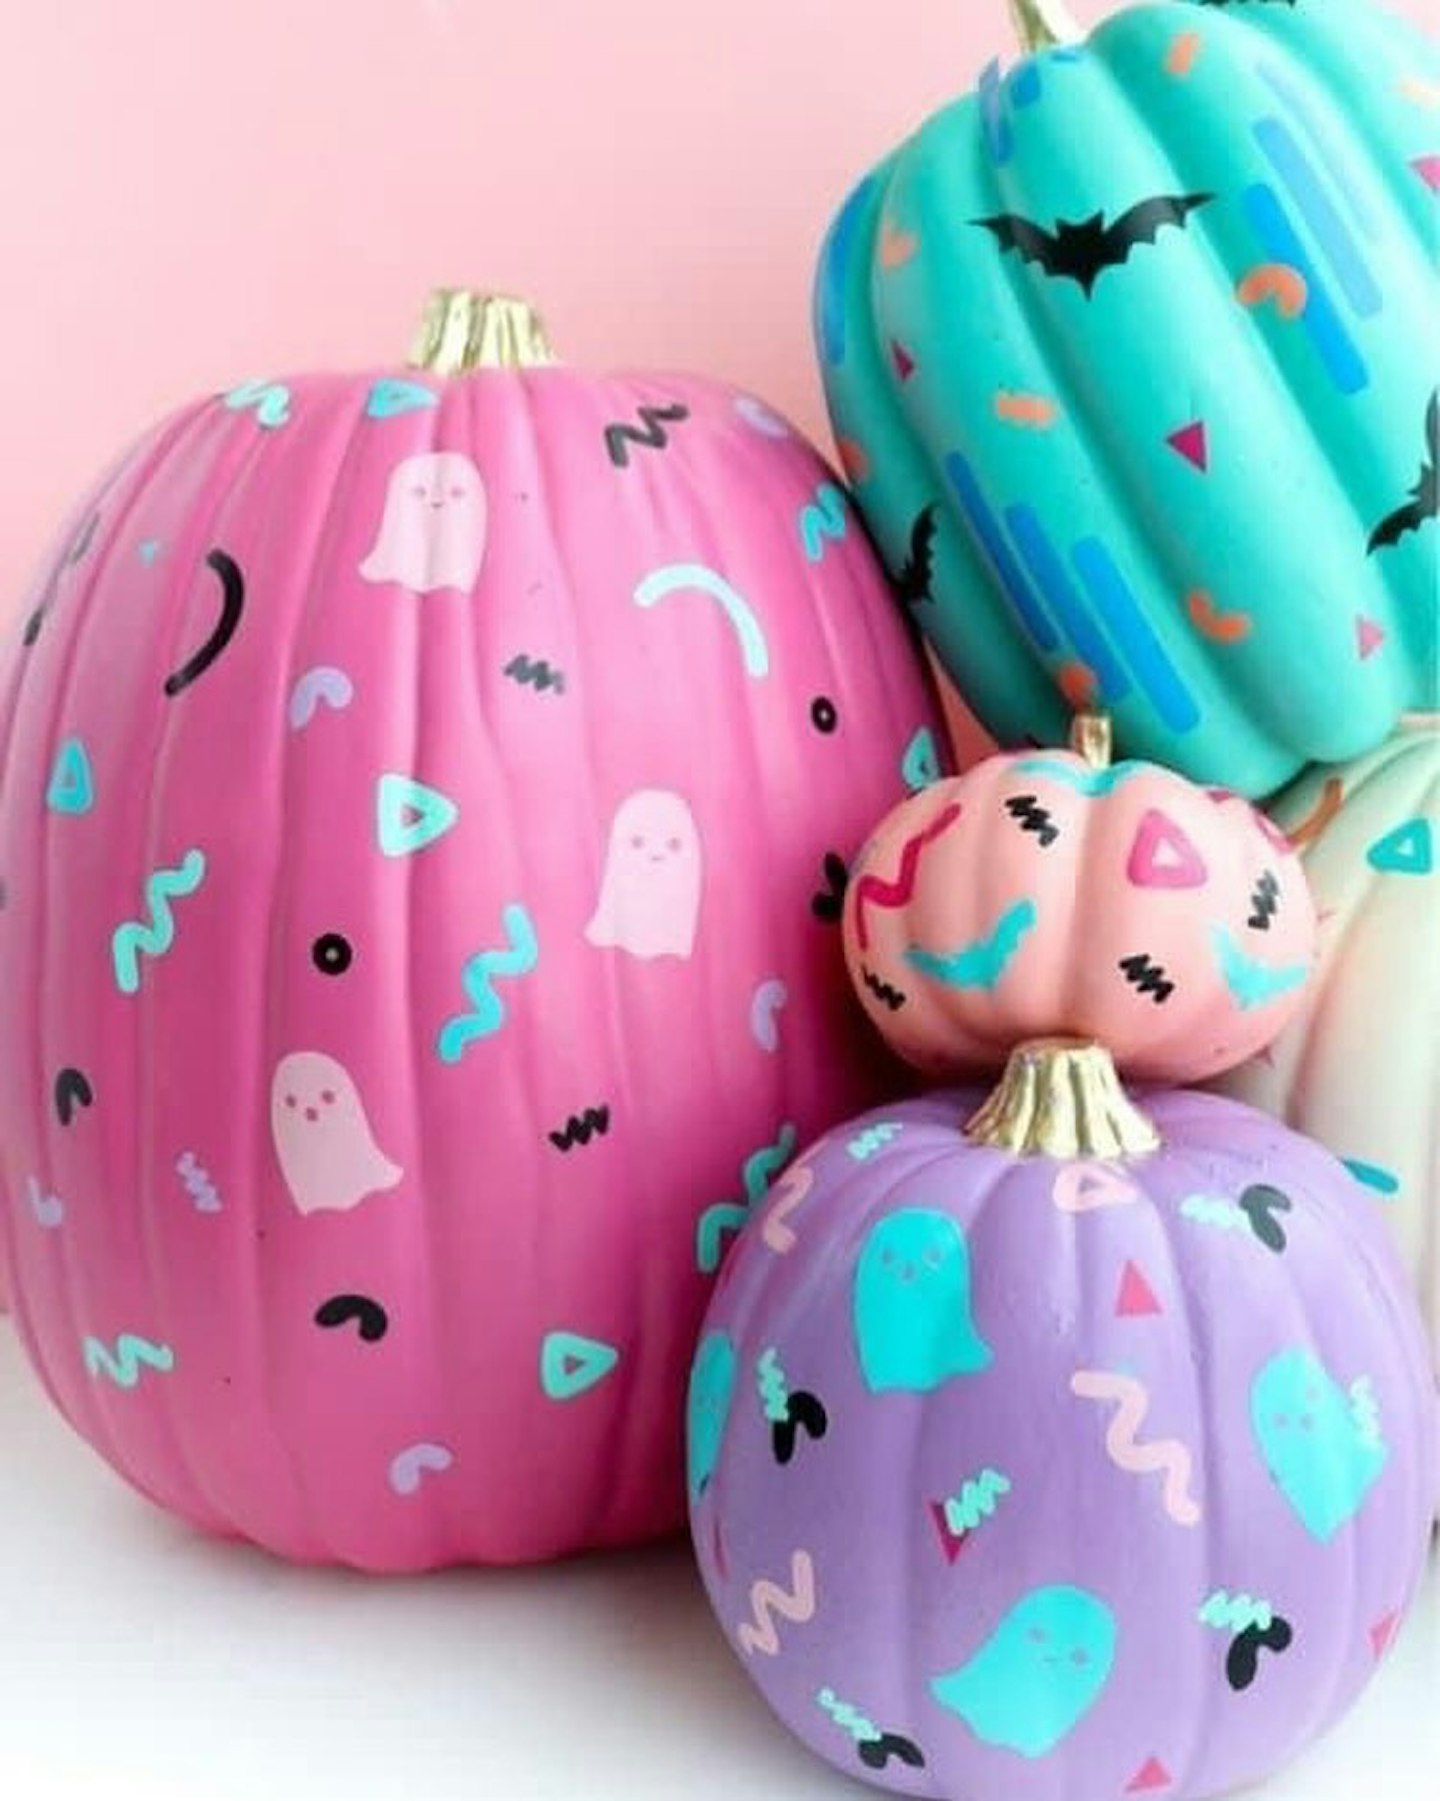
If you don't fancy the mess or the faff of carving out the innards of your giant pumpkins, or don't think you'll have the skills to carve facial features that'll live up to your little one's nightmares, why not get them to help you paint your pumpkins instead?
We like this idea because kids of all ages can get involved, and they don't even need to have any fancy art skills to have fun and decorate pumpkins in their favourite colours. For a spooky touch you can paint these easy little ghosts on, or create a ghost stamp using a sponge or rubber so little ones can stamp ghosts onto the pumpkin themselves!
Pumpkin projectile vomiting
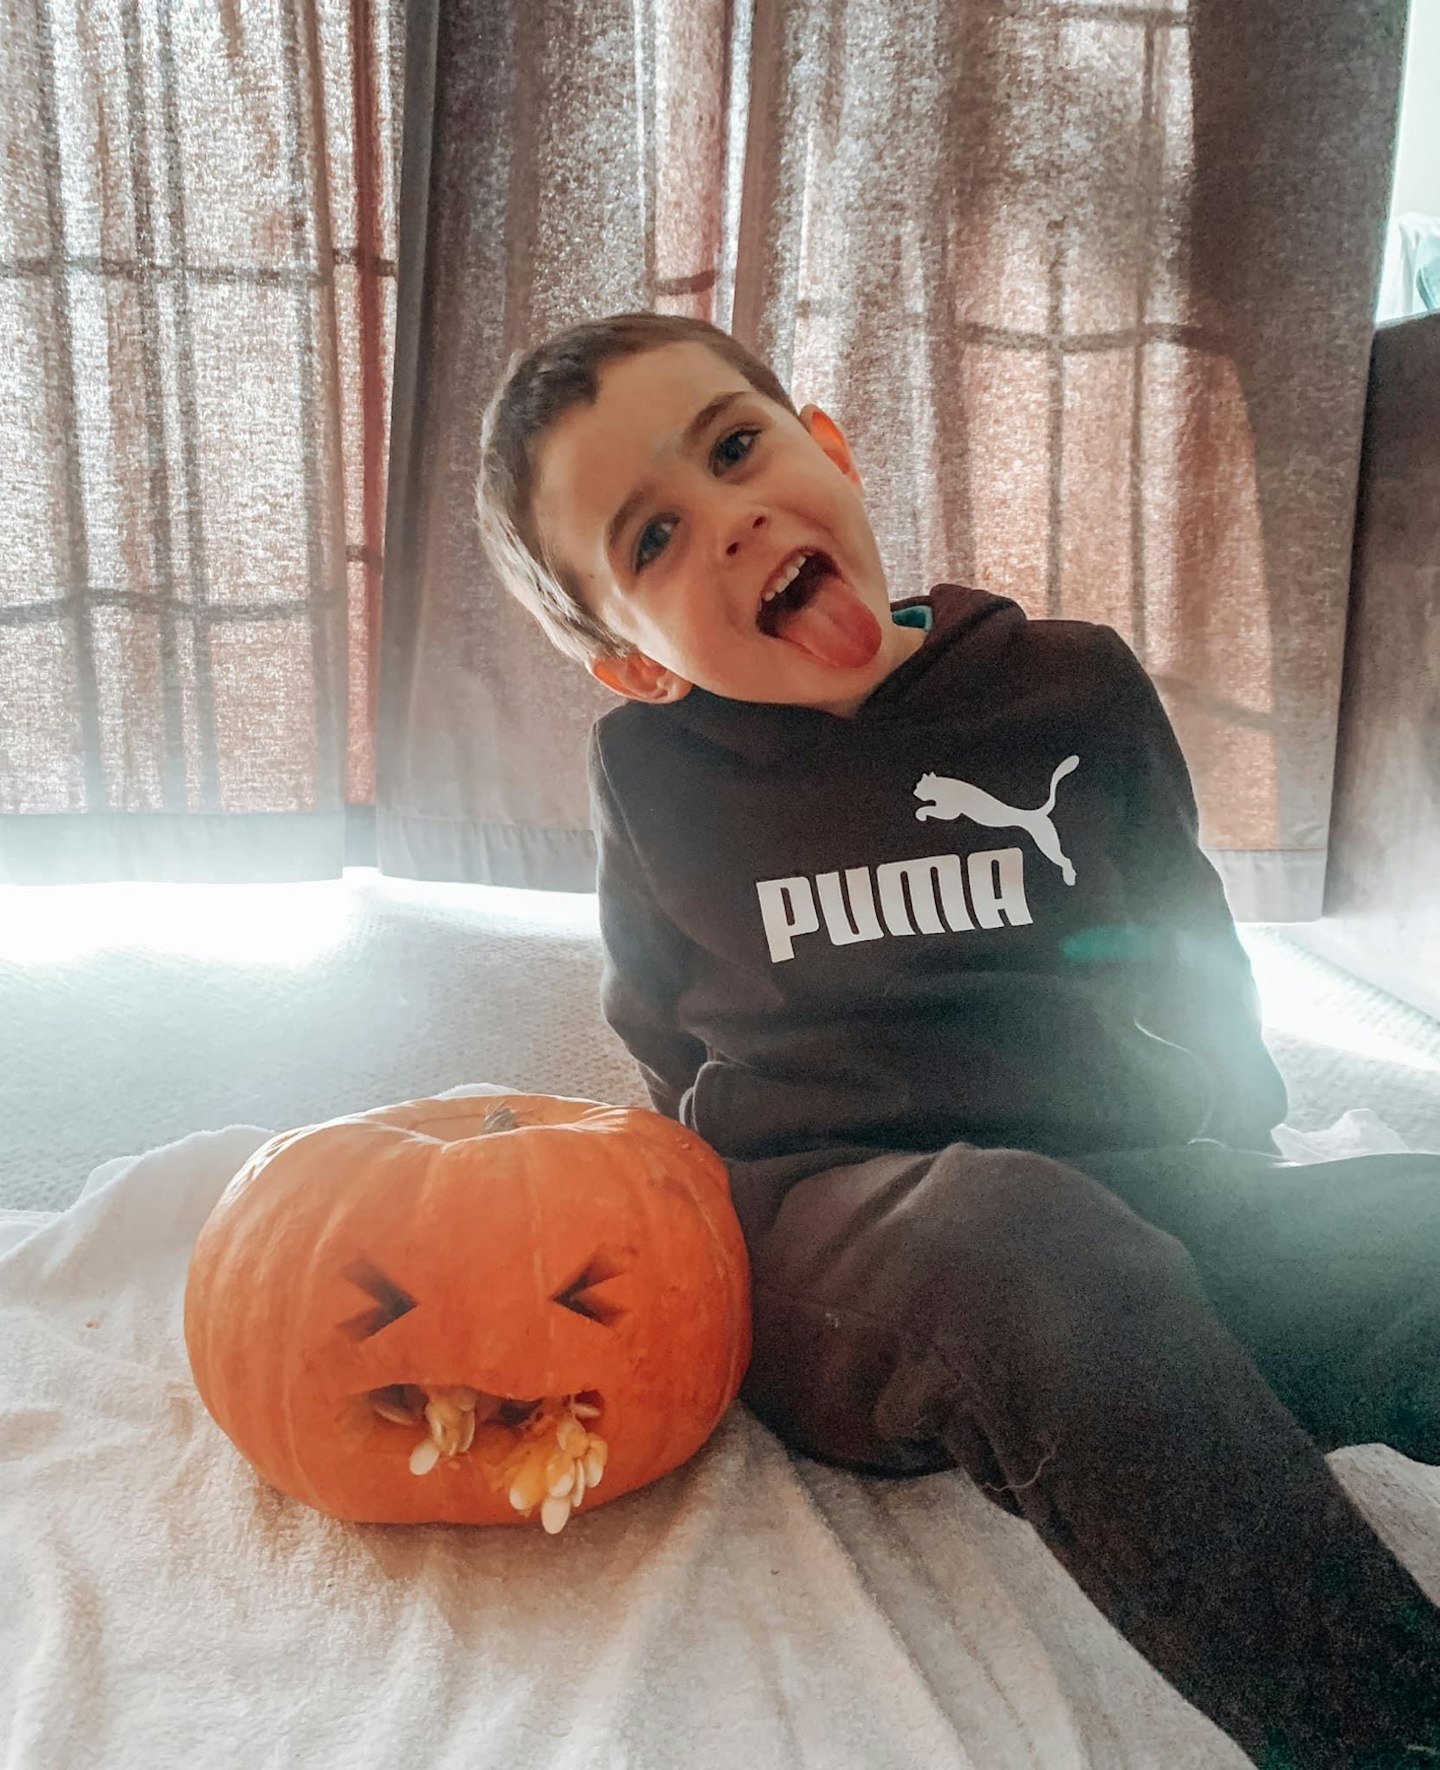
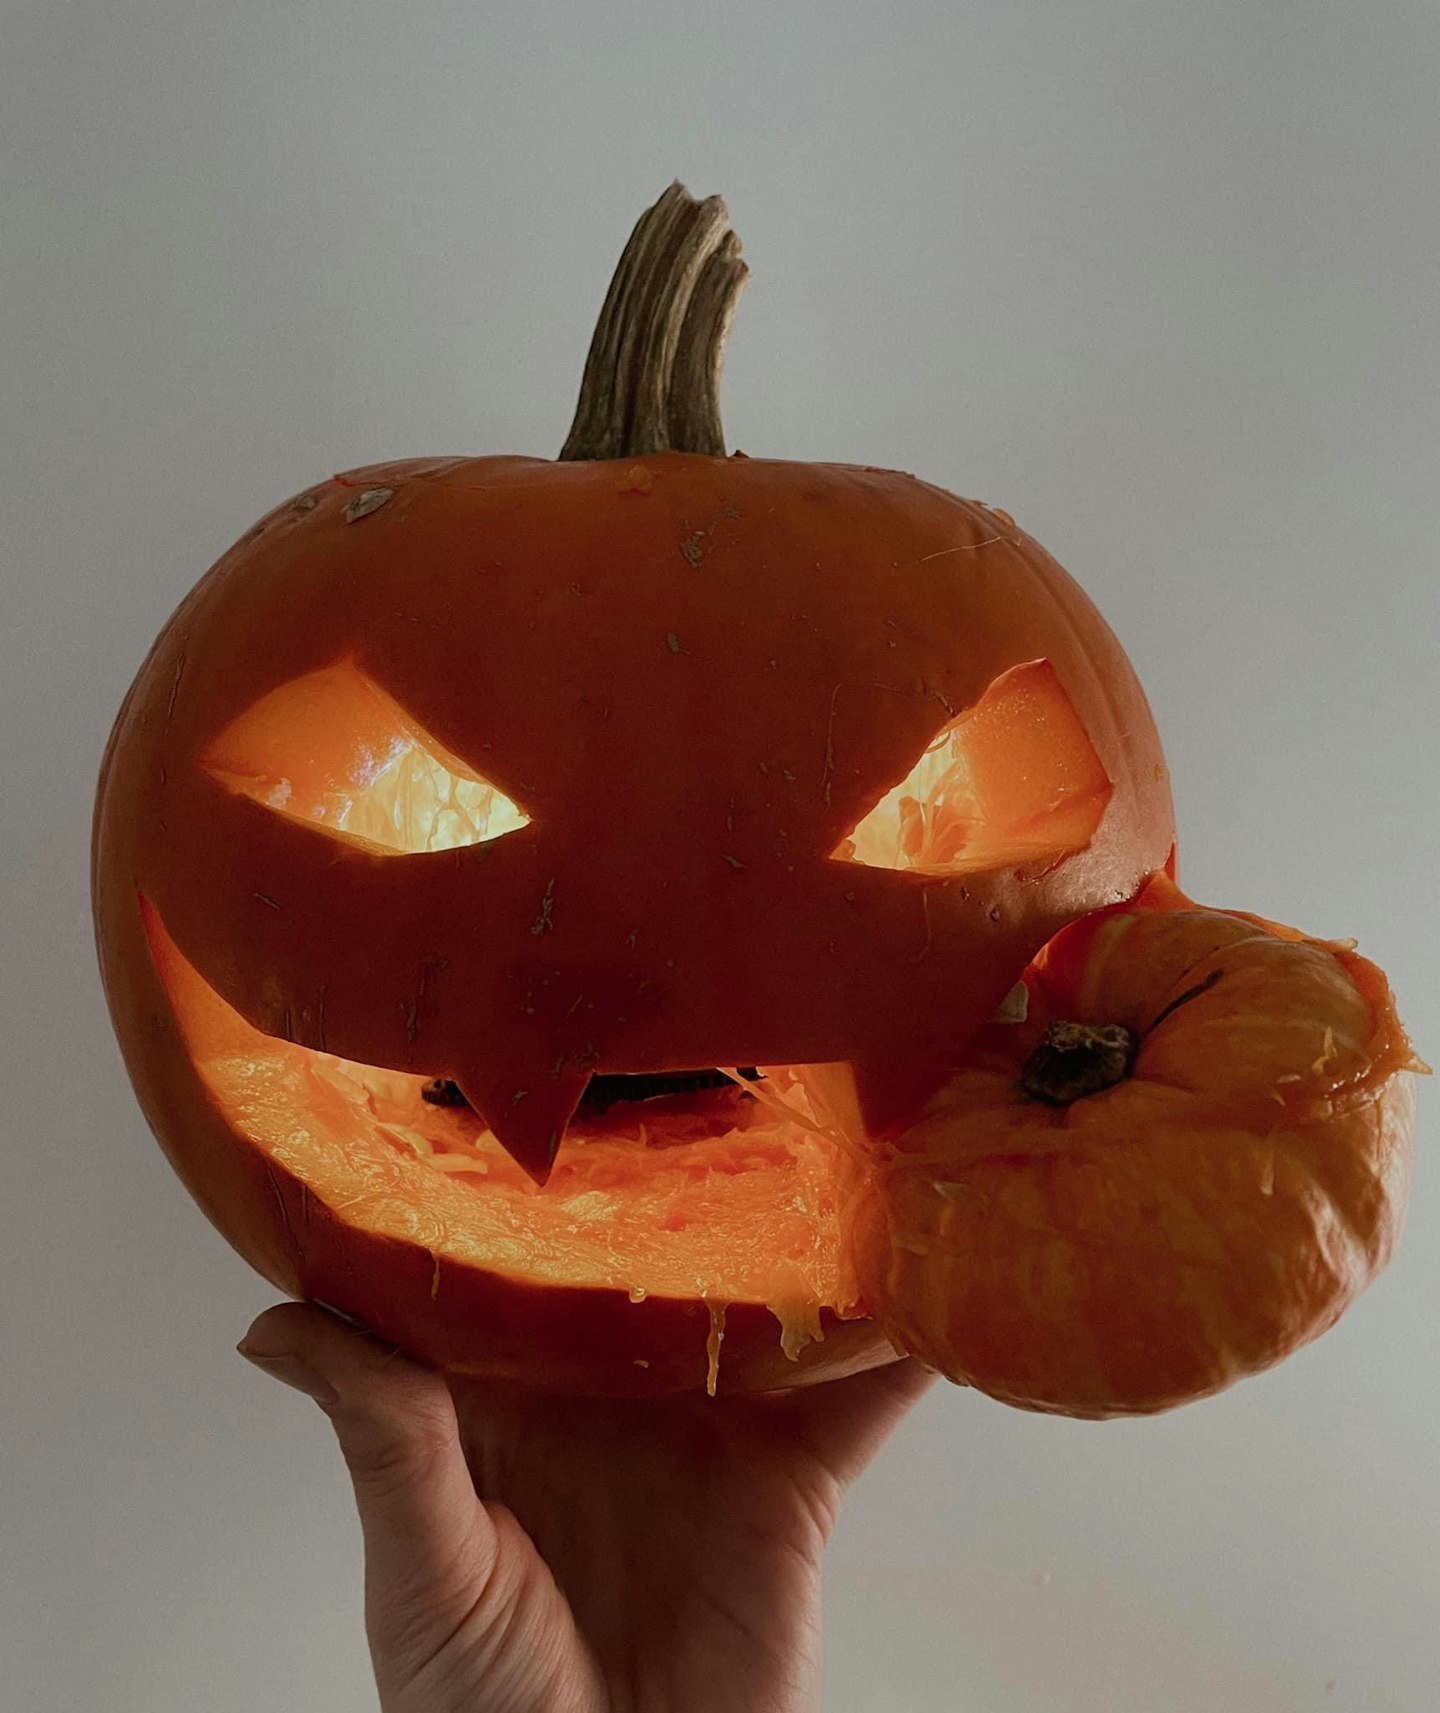
Funny pumpkin designs are the best and this one is definitely a favourite - shared by Mother & Baby Senior writer Samantha Ball. It's super easy to do too, and a great way to use the sloppy innards and seeds instead of just chucking them away. Kids will love it!
What you'll need to carve a pumpkin for halloween:
Now that we've got your creative pumpkin juices flowing, here are some of the things you might need to buy ahead of time for some pumpkin Halloween fun!
Best budget pumpkin carving kit for kids
 Amazon
If you're looking for a fun and affordable small pumpkin carving kit with everything you need for carving your pumpkins this Halloween, we think this kit looks pretty good. It comes with five tools, including two saws, a scooper, poker wheel and drill.
The saws have been improved and are more durable than previous versions, but buyers have noted that they don't stand up to tougher veggies like butternut squash, so it's best to stick to pumpkin. We like that you also get 10 stencils ranging from easy to harder designs, so that younger carvers can get involved - closely supervised, of course! The age recommendation is 12+
One reviewer said: "Really nice pumpkin carving set that will appeal to novices and experts alike.
This has a couple of additional tools - most notably a really clever wheel which you can use to 'cut' the pattern from the paper stencil onto the pumpkin skin. They also come with a book of patterns, which are good for those who are beginners or intermediate - those who are more skilled can download a myriad of patterns from the Internet."
Pros
- You get five tools - two saws, a scooper, poker wheel and drill
- The saws have been improved and are more durable now
- The kit includes 10 stencils to choose from
- Includes child-friendly stencils for younger carvers (supervision required)
- Very affordable
Cons
- Blades not suitable for tougher veggies like butternut squash
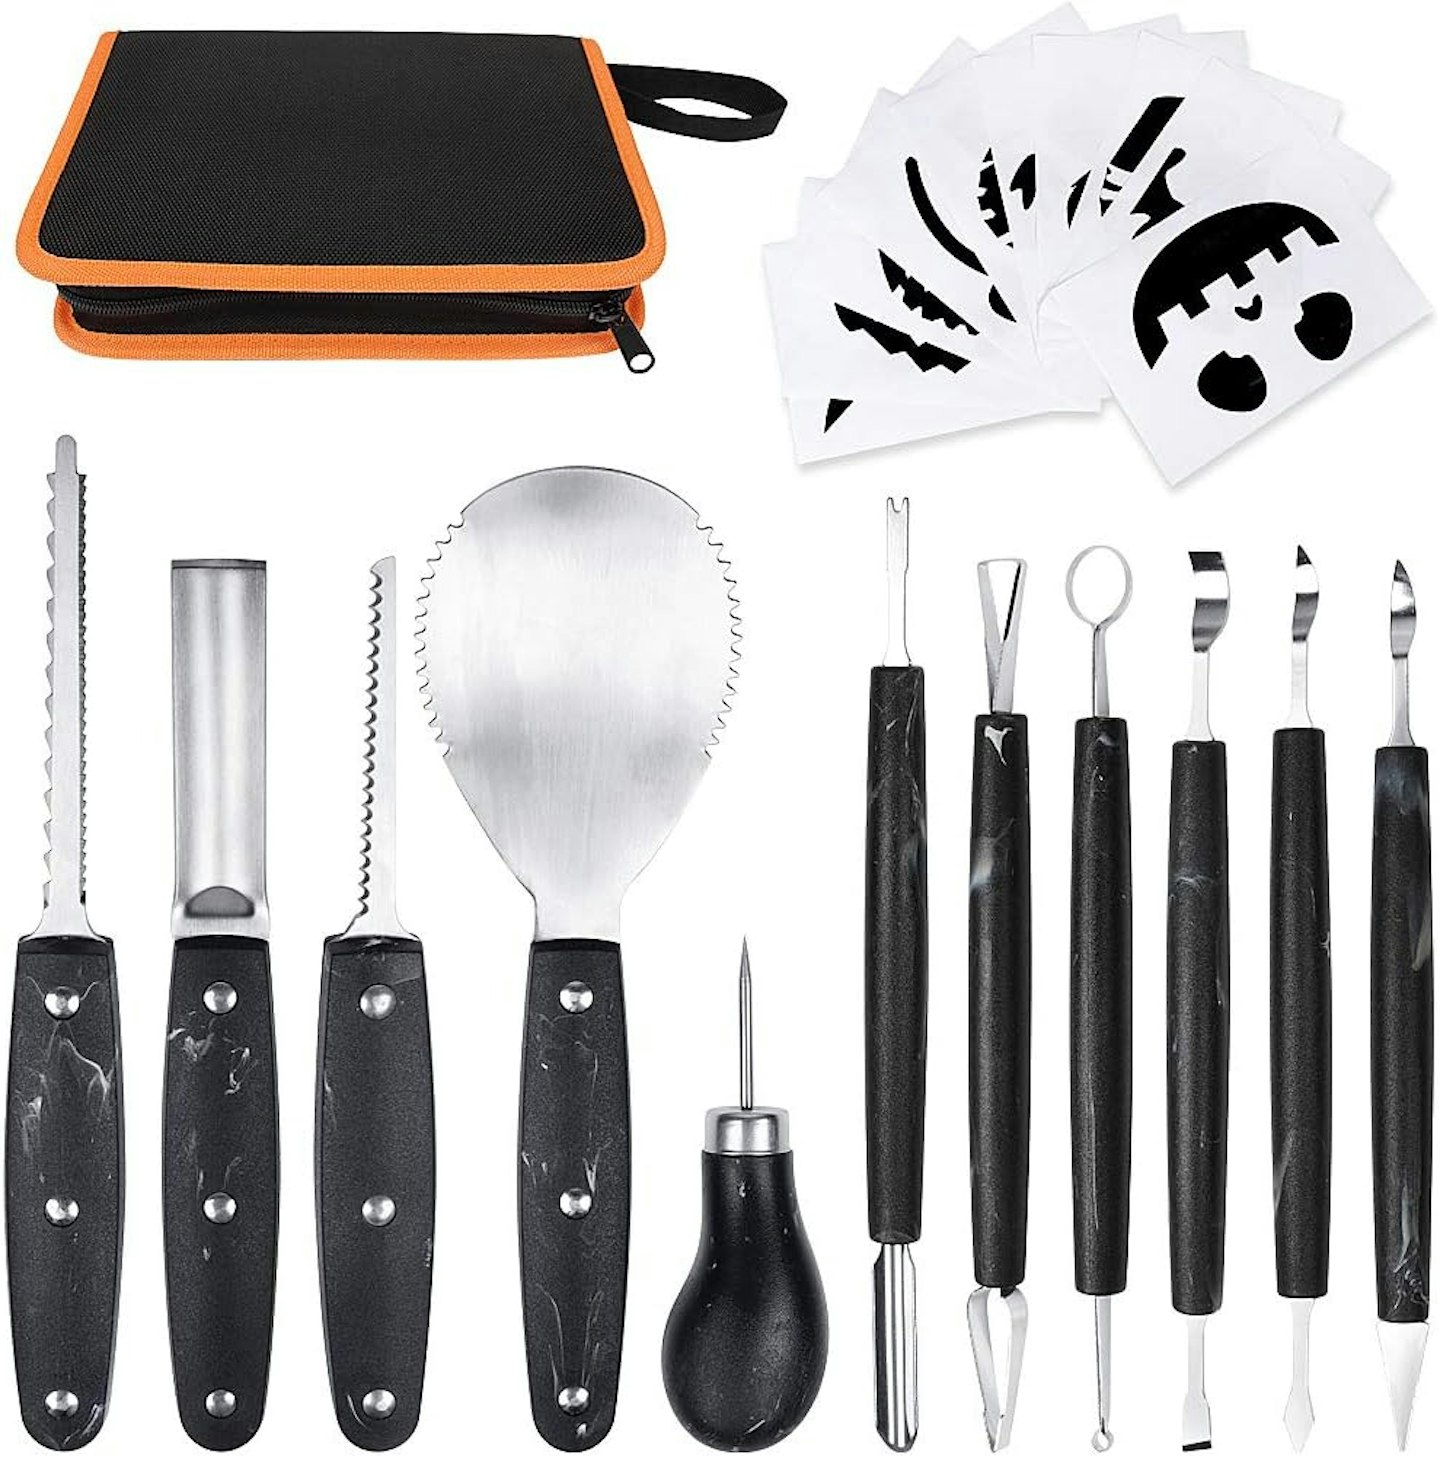
Best pumpkin carving kit for details
 Amazon
If you're looking for a pumpkin carving kit with tools that'll help you carve more intricate details to impress the little ones, this could be the kit for you. The handles are made of riveted stainless steel for durability, and you get 11 pieces in the set, plus 10 paper carving templates. We like that the tools come in a zipped carry case for safe storage when you're not using them the rest of the year.
One reviewer said: "Had always made do with kitchen equipment to carve my pumpkins but decided to treat myself this year. Wow, what a difference! Take care as they are sharp. Good selection and came in a sturdy storage bag with loop to hang. Some basic pumpkin designs on paper sent, not necessary."
Pros
- Made up of riveted stainless steel handles for durability
- 11-piece professional carving kit for carving finer details
- Includes 10 paper carving templates and patterns for reference
- Comes in a zipped case to keep everything safely stored
Cons
- Zip-pull on the case could do with a longer tab as it gets lost in the fabric
- Carving templates are quite simple and flimsy
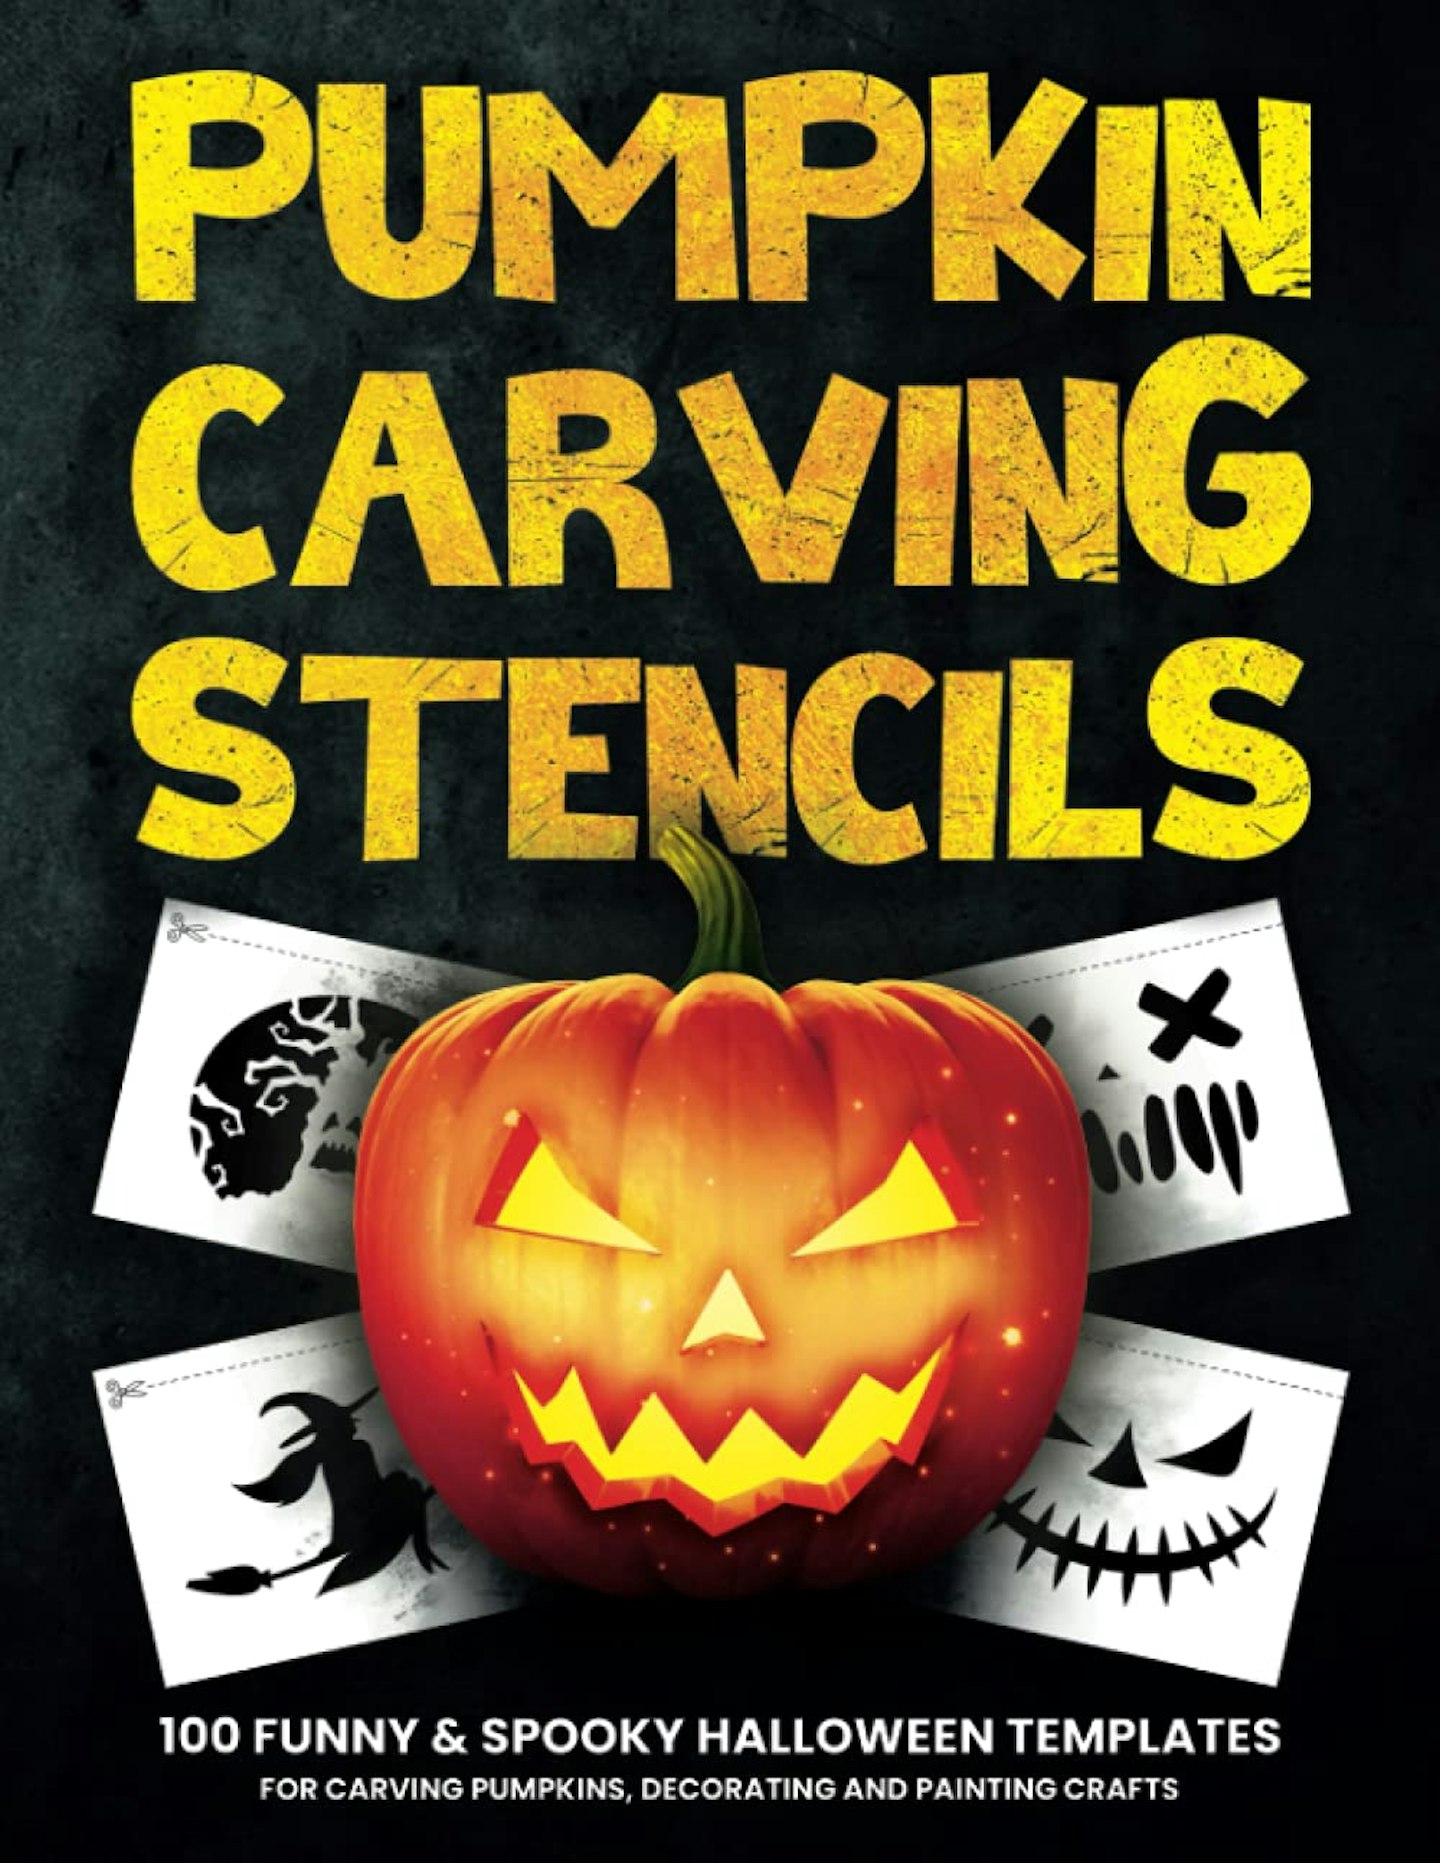
Best stencils kit for pumpkin carving
 Amazon
Never be stuck for pumpkin carving designs again with this kit including 100 simple stencils - there's sure to be something for every kid's taste; from skeletons, scarecrows and skulls to bats, witches, haunted houses and more! It comes with simple step-by-step instructions and single-sided paper so you can easily cut out your chosen image. What's more, the patterns fit different sized pumpkins too!
One reviewer said: "This book was perfect! The stencils were the best. Nice variety of choices... cute, scary, funny. This is perfect for a pumpkin carving party! I recommend it! In comparison with the other 5 books I ordered this was the best one out of the 5."
Pros
- 100 unique stencils with funny and spooky designs
- Simple step-by-step instructions
- Single-Sided paper to easily cut out your image
- Patterns fit different sized pumpkins
- Designs include - skeletons, scarecrows, mummies, skulls, spiders, bats and more
Cons
- Older children and teens might find the designs too simple
Best craft kit for a no-carve pumpkin
 Amazon
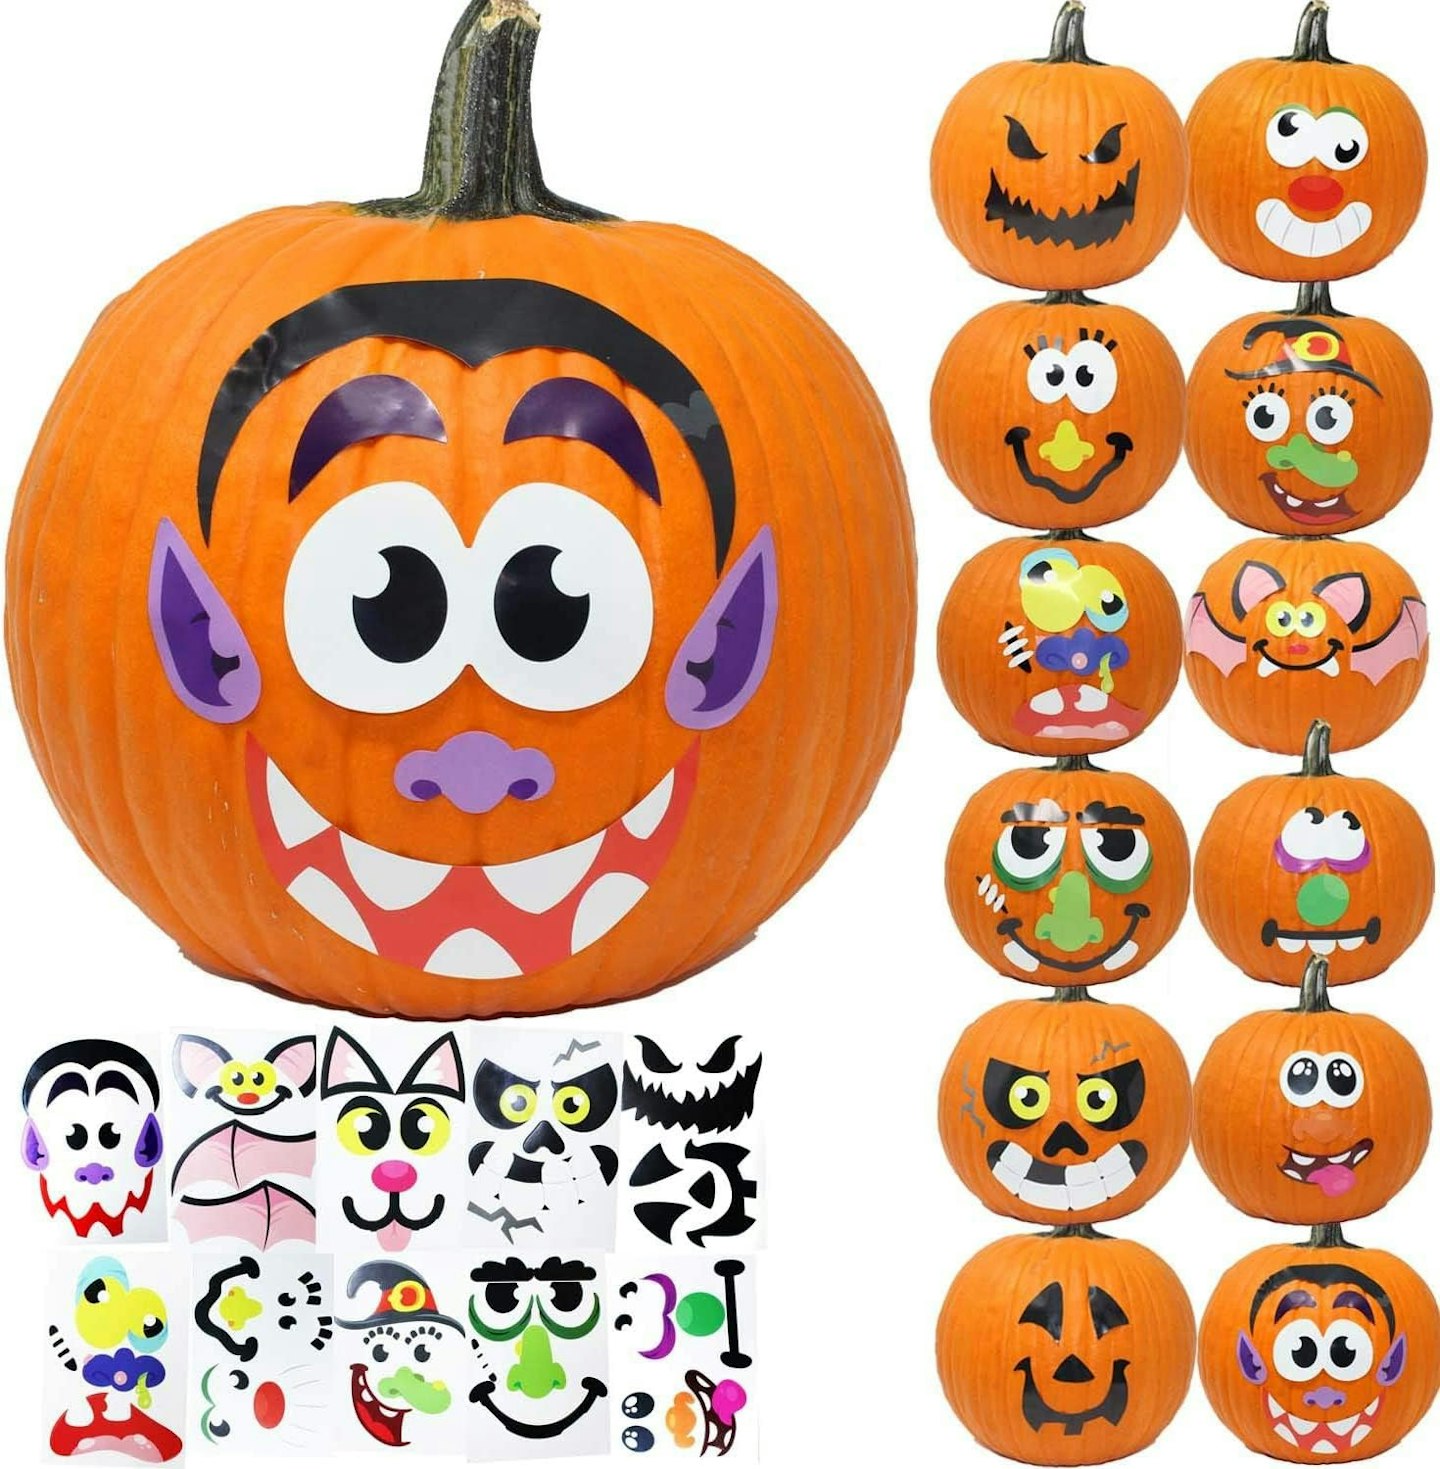
Just because you're a parent, not everybody wants to carve a pumpkin at Halloween - let's face it, it's messy, time-consuming, and potentially dangerous with all those sharp tools. That doesn't mean your little one has to miss out on some pumpkin fun though! These self-adhesive foam stickers are a quick and easy alternative to pumpkin carving, and it'll be an activity your younger child can really join in with, instead of having to watch you do all the work to create the face.
We like that they're reusable and that there are loads of spooky designs to choose from in the set. You'll still need to buy a pumpkin, of course, and you'll have to get a decent size so the sticker faces fit, but at least you'll be able to cook the pumpkin afterwards to make a yummy soup or pumpkin treats for the whole family to enjoy.
One reviewer said: "Super cute stickers. I'm not a big fan of pumpkin carving, with these the pumpkin had a cool face without the mess. It was also a nice activity for my little girl to do. You get lots of them so these will last a few Halloweens. They stick well so them falling off or not being able to withstand different textures isn't an issue. These don't work with small pumpkins, they are more for the bigger ones."
Pros
- 20 self-adhesive reusable foam stickers - easy to apply and peel off
- 12 face designs - Jack-o-Lanterns, witch, vampire, cat, zombie and more
- Sticker faces measure 10 Inches by 6.75 Inches
- Quick and easy alternative to pumpkin carving
- No mess
Cons
- They don't work for small pumpkins
How to carve pumpkin for beginners
It may seem intimidating, but trust us, you can do this. Just make sure you've got what you need, and then follow these easy peasy Jack-o-lantern easy step-by-step instructions...
What is the best thing to carve pumpkins with?
If you don't have a kit you might be wondering - can I carve pumpkin with a kitchen knife? And if not then - What is the best thing to carve pumpkins with?
How to carve a pumpkin without a kit
Well, here's our handy list of all the things you can find in your kitchen to help you carve an awesome pumpkin with your kids...
• A knife - don't go for a large kitchen knife, you'll have more control with a small serrated or paring knife
• Large spoon or ice-cream scoop - for hollowing out your pumpkin
• Potato peeler or lemon zester (optional) - for etching details into the skin, but not all the way through
• Templates/stencils - useful if you're not confident to go freehand - you can buy or download freebies
• A sharpie or other marker - for drawing your design
• Tea light - to light up your pumpkin and make it glow
How to carve a pumpkin step-by-step:
-
Using your knife cut the top of your pumpkin off (the top is the area with the stalk)
-
Using your spoon or ice-cream scoop, scoop out the insides (first the seeds and fibres and then some of the flesh - you can put the flesh aside for making pumpkin pie if you want)
-
Transfer or draw your design onto the front of your pumpkin
-
Use your knife to carve out the design - always cut away from you and your kids to avoid accidents
-
Add any surface details using the potato peeler or lemon zester - like hair, polka dots, patterns
-
Finally place a lit tea light inside the pumpkin and pop the crown back on
What age can kids start carving pumpkins?
It's not advised for children (before their teenage years) to be using a sharp knife, so we would recommend doing any of the knife cutting by yourself before the kids get involves. The good news is that there are some brilliant and safe pumpkin carving kits for younger kids that are available to buy - just be sure to check the age suitability.
They'll still have plenty of fun helping design the pumpkin, hollowing it out and then adding extra decorations.
How do you make pumpkin carving easier for kids?
It can be tricky to allow kids to get involved in the pumpkin carving for safety reasons - nobody wants their 4-year-old waving a knife around, even if it is Halloween!
But here are some fun ways for them to join in:
• They can help choose the template, stencil or design
• Once you've cut the top off, they can help start scooping out the softer innards with a spoon
• If they don't have great control you can hold and guide their hands while scooping together
• Let them decorate the outside of their pumpkin using paints or stickers
• Let them name their pumpkin once it's finished and decide where to display it
• How about singing spooky Halloween songs while decorating your pumpkin?
• Telling Halloween jokes is sure to get little ones in the mood!
Halloween pumpkin carving FAQ
What is a simple but effective pumpkin design?
If you can cut the top off your pumpkin and hollow it out, you can also cut a similar sized hole in the front - and you've successfully created a cave to pop your tea light in. Top make this simple but effective design more spooky or funny, add googly-eyes like in our pumpkin ideas above and you'll have a howling face!
Do you cut the top or bottom of a pumpkin when carving?
Traditionally, you'll cut the top off your pumpkin. This is the part with the stalk. It'll help you scoop out the insides, and then you can play it back on top after putting your tea light inside. The idea is that the light will then glow out of any holes you've carved - usually for eyes and a mouth. However, it can be safer to cut the bottom of the pumpkin, that way, you don't need to place lit tea lights in the pumpkin and risk burning yourself. All you need to do is put your candles on the base and place the pumpkin on top.
How do you decorate a pumpkin with little kids?
Depending on how little your kids are, they might simply enjoy watching you carve and decorate a pumpkin, but if they're a little older they'll probably want to get involved. Coloured markers, paints, glitter and stickers are great ways for little kids to help decorate a pumpkin. Rubber or sponge stamps in the shapes of ghosts and cats can also be a fun way for little ones to help decorate the outside of a pumpkin.
Do you soak pumpkins before or after carving?
If you want your pumpkin to last a long time, soak it after carving. A long soak in a bleach/water bath will work wonders. Using a large bucket or container, submerge the whole thing (before decorating) in a bleach/water solution of 1/3 cup bleach per gallon of water for several hours, but no longer than 24.
Why did my pumpkin rot after carving?
It can be extremely disappointing if you carve a pumpkin ahead of time and find that it starts to rot. This happens because essentially, a pumpkin is food, and the insides are very moist. This allows fungi to grow or attracts pests who will want to eat the flesh, unless it's properly dried out. Some people like to give the pumpkin one bleach bath before carving and one bleach bath after carving as an effective way to keep their pumpkins from rotting.
How fast do pumpkins mould after carving?
Your pumpkin is likely to begin turning soft and mouldy from three to five days after carving, unless you treat it with a bleach bath and ensure the pumpkin is dried out well.
Proud aunt to her teen niece, Zara Mohammed is a Digital Writer for Mother&Baby. She has 10 years freelance writing experience creating lifestyle content for various platforms, including pregnancy, women’s health, parenting, child development and child mental health, plus lots of fun seasonal family articles and celebrity news.
