A Cricut cutting machine is a handy creative tool for crafty mums who love to personalise gifts and family events, not to mention have fun making things for the kids and with the kids. It can provide hours of fun, enabling you to make all kinds of wonderful things, with a pleasing professional finish.
The Cricut Joy Xtra™ does that little bit more in the Cricut line-up of cutting machines than the first mini cutter – the Cricut Joy™. It won't break the bank either, like some of the others. Overall, it's the perfect budget-friendly option from the brand that offers a surprising amount of functionality, while not taking up too much room in your crafting space. But, is it for you? Well, I have tried and tested this machine and I'm eager to share my thoughts in this Cricut Joy Xtra™ review!
What does a die-cutting machine even do?
The Cricut Joy Xtra™ is essentially a digital die-cutting machine that cuts out shapes from a variety of different materials with the help of an optical camera, so it's incredibly accurate. Traditional die-cutters work more like cookie cutters, where the die is a very thin metal shape with the outline ever-so-slightly raised on one side, called the cutting edge. When used in the machine this traditional method will press out the shape in your material.
Why do people use die-cutting machines? Well, it's a method that enables you to cut very intricate details that you probably couldn't achieve with scissors or a craft knife. Plus, it's much faster. Digital cutting machines like the Cricut are even better than traditional ones because they can do a variety of other things too. The Cricut Joy Xtra™, for example, can draw, kiss-cut and foil, as well as cut shapes to make stickers, vinyl decals, iron-on designs and more. It's a truly versatile crafting tool, so it was very exciting to have the opportunity to try one out for myself to see what it could do!
Cricut Joy Xtra™ and Starter Bundle - What's in the box?
If you buy the Cricut Joy Xtra™ machine by itself it comes with a power cable and setup booklet. The machine comes with a Premium Fine-Point Blade + Housing, and in the box you'll find a Cricut Joy pen, a mini weeder, and an envelope containing two sheets of matt black removable Smart Vinyl, a sheet of white writable Smart Label material, Gold Smart Iron on, and a sheet of transfer tape to adhere a design to a blank item. This is everything you need to get set-up and connected to the Design Space app and try out some of the features by following the introductory projects. You can also enjoy a free trial subscription to Cricut Access™ if you're a new subscriber, as well as find 100 free, pre-designed projects in the companion app.
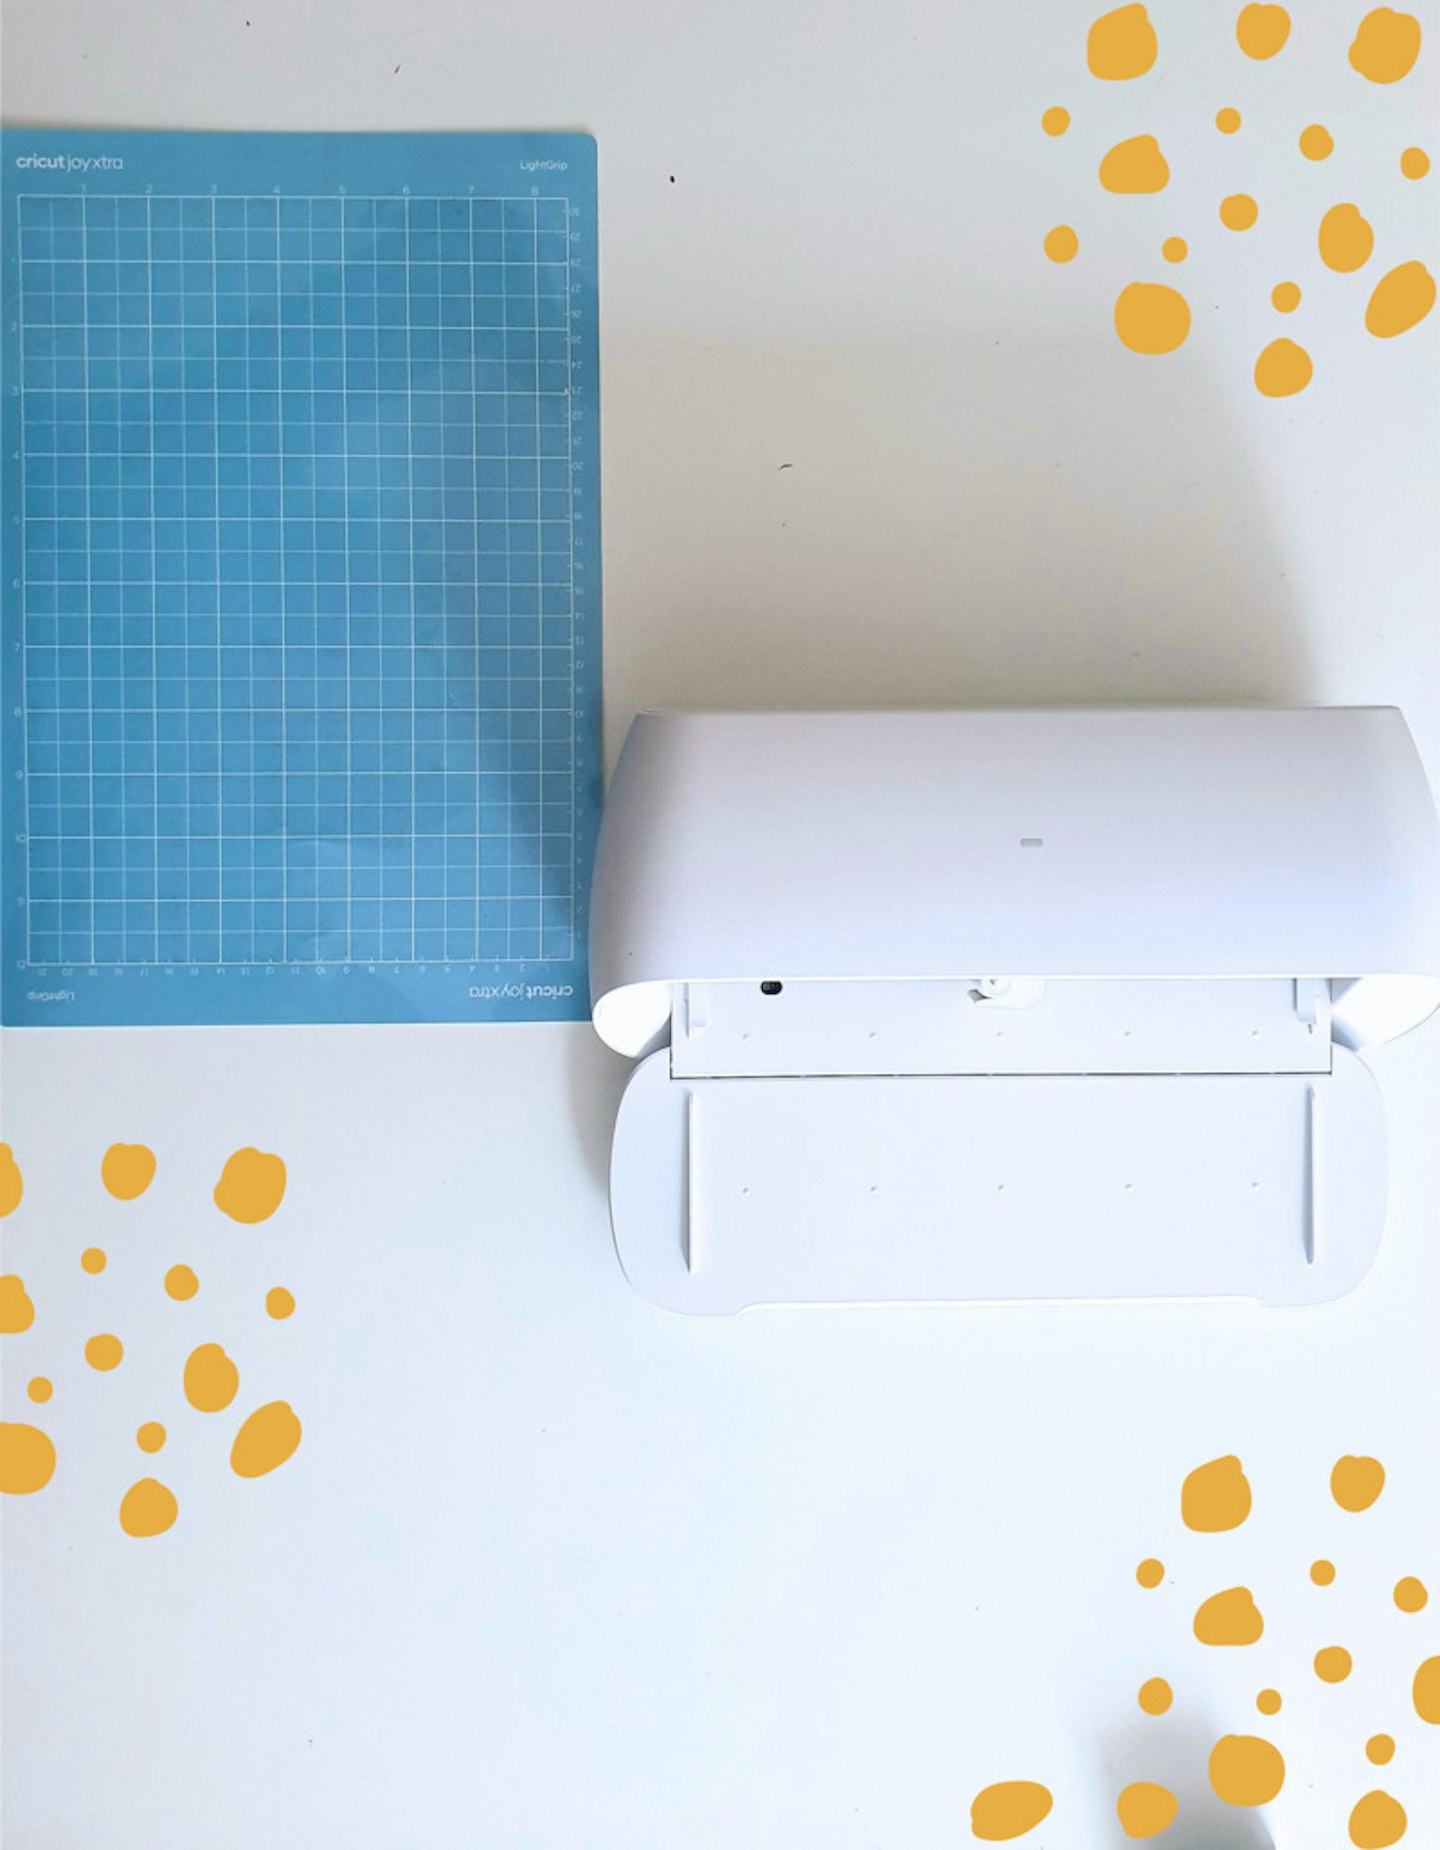
My Cricut Joy Xtra™ machine came with the Starter Bundle. With bundles you get a variety of extra materials and accessories, and different bundles may be available on different sites. My Starter Bundle includes a Cricut Joy Xtra Light Grip Mat, six sheets of Cricut Printable Waterproof Stickers, five sheets of Cricut Printable Iron-On for Light Fabrics, three sheets of Cricut Elegance Smart Iron-On, three sheets of Cricut Classic Smart Vinyl and transfer tape.
On the box you should find a QR code that you can scan to go to a webpage with some finished project examples, plus a brief explanation of the creation process and a list of beginner-friendly supplies.
Who tested it?
My name is Zara and I'm a Mother & Baby Digital Writer, and 'the fun aunt'. As a writer I write parenting content, including product reviews and round-ups, as well as the shopping newsletter. As 'the fun aunt' I have loved inspiring my niece's creativity and imagination over the years, from toddler to teen. We've created artwork, made up stories, illustrated mini books, exchanged letters, played weird and wonderful games and generally had loads of fun! I'm excited to see what the Cricut Joy Xtra™ has to offer families who love to make things.
What was it tested for?
As a crafty person I was eager to test this cutting machine to see what it could do and how well it performed for various creative projects. Being completely new to cutting machines, this was the perfect opportunity to test the machine to see how user-friendly it would be for a complete beginner – straight out of the box.
I tested to see how easy it was to set the machine up ready for use. I also wanted to see how intuitive it was to navigate Design Space and use the machine for the first time. I wanted to give feedback on the design and features and comment on the machine's performance doing different tasks. Finally, I completed two sticker projects. I thought these would appeal to both parents and kids, and help me to give my opinion on how suitable I think the Cricut Joy Xtra™ is for family use.
Best Cricut machine for fitting in any space
 Zara Mohammed / Mother and Baby
cricut.com
One step up from your favourite mini Cricut Joy cutting machine, the Cricut Joy Xtra™ still easily fits in any space while looking good, but does even more. You can cut, write, draw and foil to make a wide variety of fun craft projects like full-colour stickers, greeting cards, T-shirts, vinyl decals and more. It works with the free Design Space™ app, so if you're stuck for design ideas, there are plenty to choose from, and you can connect from your mobile device via Bluetooth.
You can also buy the Cricut Joy Xtra™ as part of a bundle. Bundles provide everything you need to get to grips with your new cutting machine, so that you can try a few projects and practice using it. Visit cricut.com to see what's available.
Pros
- Gorgeous minimalist design, compact enough to store away or display on a shelf
- Easy to set up, just follow on-screen instructions
- It's quiet when cutting
- Works with popular material sizes, including US Letter and A4
- You can upload & cut your own designs or use free designs from the app
- Compatible with your home inkjet printer
Cons
- Design Space may be a bit overwhelming for total beginners
- Not very intuitive – follow instructions carefully or risk making mistakes
- The machine relies on Bluetooth, so you need a good internet connection
| Dimensions: | 12.5 in x 6 in x 5.5 in <br>(31.7 cm x 15.2 cm x 13.9 cm) |
| Weight: | 6 lbs <br>(2.7 kgs) |
| Max cut size using machine mat: | 8.2 in x 11.7 in <br>(20.8 cm x 29.7 cm) |
| Max cut size using Smart Materials: | 8.5 in x 4 ft <br>(21.6 cm x 1.2 m) |
| Cut speed: | 5.65 in per second |
- Works with 50+ materials
- Print then cut full-colour designs
- Writes, draws, foils, and more
- Free, easy-to-learn Design Space™ app
- Bluetooth® wireless technology
- Choose designs from the Cricut Design Space library
- Free live workshops, online courses & beginner cheatsheets
- World-class customer support is available via phone or chat
- Cricut Manufacturer Warranty
- Included in the box: Cricut Joy Xtra machine, Premium Fine-Point Blade + Housing, Cricut Joy™ Fine Point Pen, Cricut Mini Weeder, Welcome card, Power cable, Free trial subscription to Cricut Access™ (for new subscribers), 100 free pre-designed projects in the companion app, Materials for a practice cut
Testing the Cricut Joy Xtra™
How easy is the Cricut Joy Xtra™ to set up?
I've never used a cutting machine or any Cricut product before so I had no idea what to expect, but I found the set-up process to be very easy and straightforward. If anyone is a complete beginner like me, all you have to do is follow the on-screen instructions as they come up, it will take you through the process of connecting to your machine and testing the cutting accuracy with a CRICUT vinyl cutout demo. When the machine cut out this initial vinyl I was surprised by how quiet and gentle it sounded. This isn't a machine that's going to annoy your neighbours!
After the initial tutorial during the setup there are three projects available to teach the basics. I was reluctant to use my materials on those projects because what I really wanted was to make stickers. So I ignored them and wandered off to explore Design Space. This was a mistake. Design Space has so much to offer, but as a total beginner, being exposed to so many options all at once was too much.
During my chat with Cricut, we talked about this and they explained that those three projects are intended to ease beginners in and give the basic skills and experience you need to move on to other projects. The thing is, it's easy to overlook them if you don't see something you want to make, and then you risk getting overwhelmed and lost on the site.
Cricut said that this is something they are looking to address by making the initial projects a requirement, to be completed before you can do anything else. One piece of advice I'd give is to not be precious about the materials that come with the machine. These are included so you can do those first few projects, and they're intended to help you get to know the machine. And definitely don't be tempted to skip those intro projects!
What I thought about the design of the Cricut Joy Xtra™
I love how the Cricut Joy Xtra™ looks. I wasn't sure initially which machine they were going to send me, but honestly, this is probably the one I would have chosen. It's a lovely size and doesn't take up much room at all. One thing I will say is that if you intend to have it set up in a permanent spot it will take up more space than you think. This is because it needs enough clearance behind it to allow the cutting mat to feed through and back in order for the machine to measure the design if you're not using smart materials.

I feel like this machine is designed to be moved around in your creative space, as it's easy to slip away on a shelf and take out again. But while it is lightweight enough to handle easily, it's probably not something to be carrying around with you in a bag as it is a bit heavy. The smaller and lighter Cricut Joy™ is the better option for that.
I adore the all-white minimalist design. It's sleek and curvy, and if you have IKEA white shelving it'll look fab displayed when not in use. There are no buttons on the device itself as it's operated via the app with Bluetooth. I like the way this looks but it makes me nervous about my unreliable internet connection. I'd have preferred the option of a cable connection.
How easy was it to use?
I wanted to make stickers for children that they could colour in. This would use both the draw function and the cut function. It wasn't easy to find a project to follow, so I chose designs to draw from Design Space and attempted to teach myself, which wasn't very sensible and took much longer than it should have. During my chat with Cricut, they said this was a more advanced project for a beginner and that most people start off cutting vinyl decals, which was one of the introductory projects I ignored – whoops!
I don't recommend going rogue if you're a complete beginner. Working out how to get the machine to do what I had in my head was stressful, and took some of the joy out of the project for me. Crafting is meant to be a relaxing, fun and mindful activity, but I was battling against technology and it was my own fault for trying to run before I could walk. So don't make the same mistake. Pick a nice simple project to start off with, build your skills as you go, and make sure you are enjoying yourself!
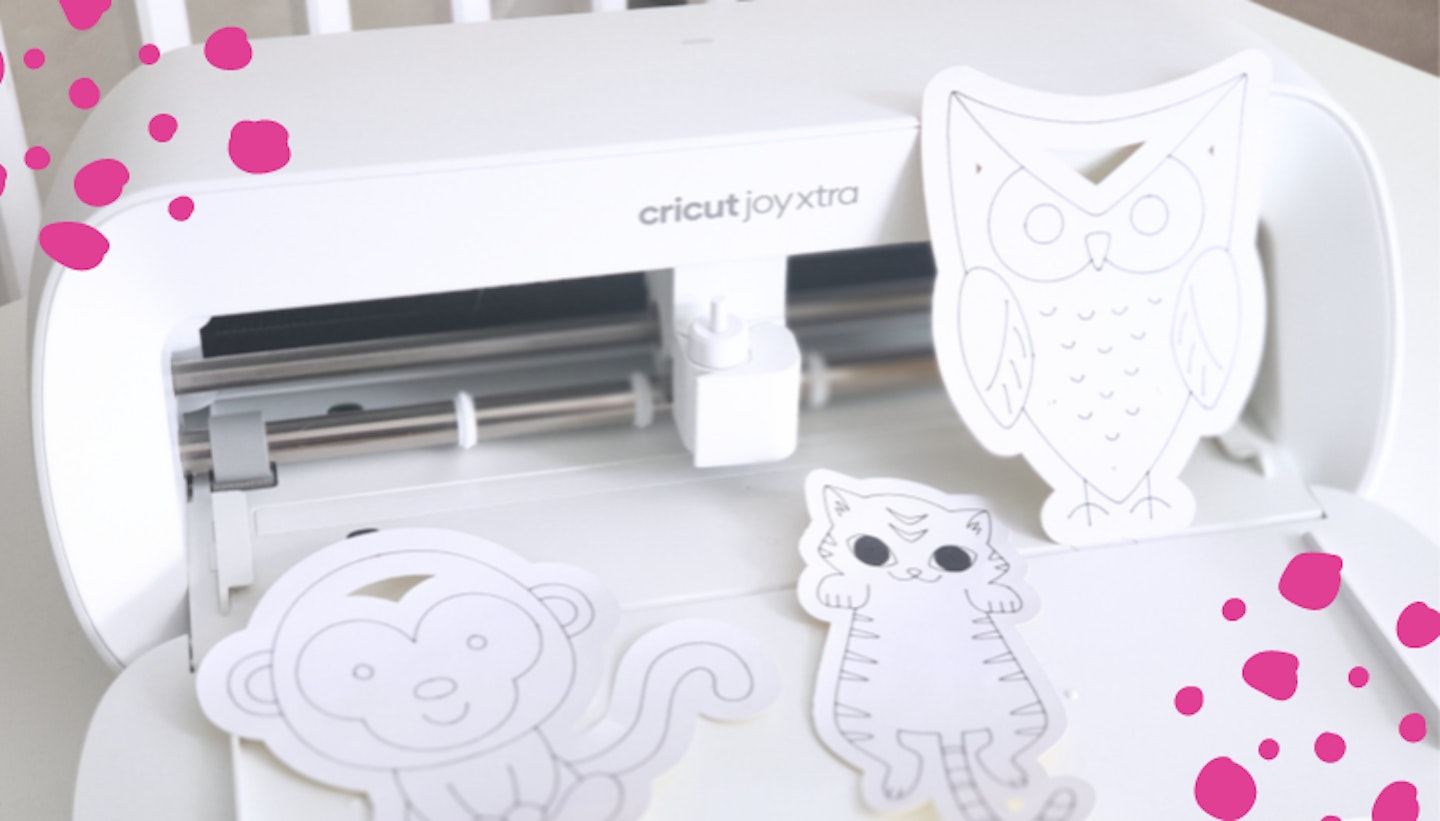
These are the colour-in stickers for kids I finally made:

It was easy to remove the blade and load the pen. The drawing wasn't as fast as I thought it would be, but it was a lot of fun to watch and came out perfectly! It did a good job of cutting, but seemed to struggle a bit with very teeny holes. This might have been the fault of my own sticker paper, which was a bit thin. I was being stingy and didn't want to waste the Cricut materials by making mistakes on my first go. I later discovered that you can actually use a setting that makes the machine only cut around the edge of the shape, ignoring fiddly bits in the centre, which would have been perfect for this project.
Like I said, you learn new skills as you go, and you learn more when you follow proper tutorials. It can be a bit trial and error if you decide to wing it like I did. I think this is a fun project for kids and you could also use the draw function to create fun colouring-in pages for little ones to do on rainy days – or make colouring-in stickers for birthday party bags.
I found it difficult to remove the sticker paper from the brand new mat as it's very sticky and made the paper curl. I later discovered that this was a rookie mistake – you should pull the mat away from the paper! I discovered this while exploring the world of Cricut on YouTube. You'll come across plenty of handy tips like this as you discover various online communities of Cricut fans. Another thing I discovered was that the mat is a magnet for pet hair, dust and anything else that wants to stick to it. It's advisable to keep the clear cover to stick back onto the mat for storing when it's not in use to keep it as clean as possible and maintain it's stickiness.
I couldn't work out how to make draw-then-cut stickers with a kiss-cut finish, which would have been ideal for the kids colouring-in stickers. Kiss-cut stickers would be easier for parents to make, as draw-then-cut doesn't require a printer, and easier for kids to remove the stickers from the backing. Instead, I moved on to do a second sticker project to try out the print-then-cut feature, which meant connecting to and using my printer. This wasn't as straightforward as I'd hoped, but eventually I got there.
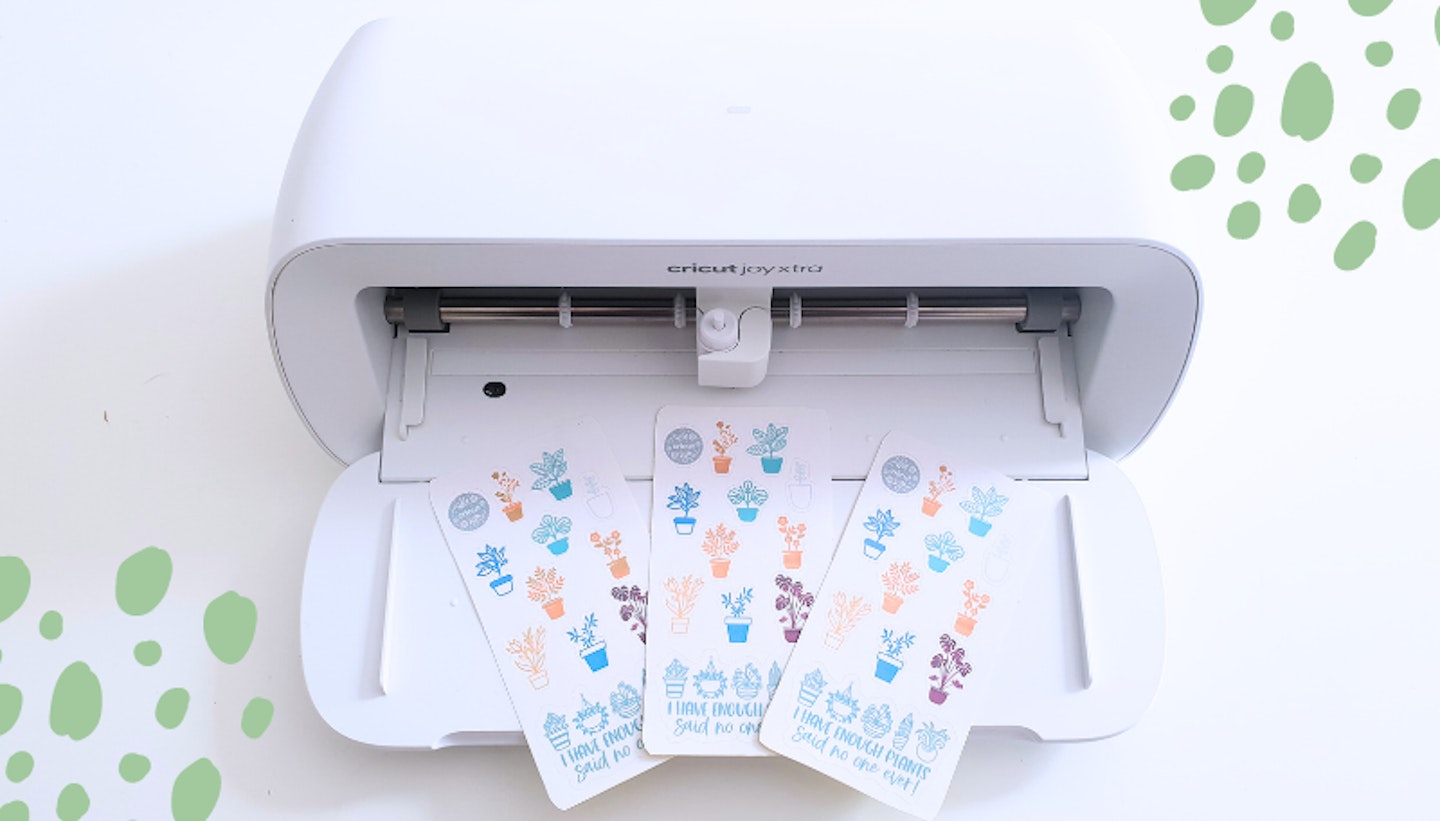
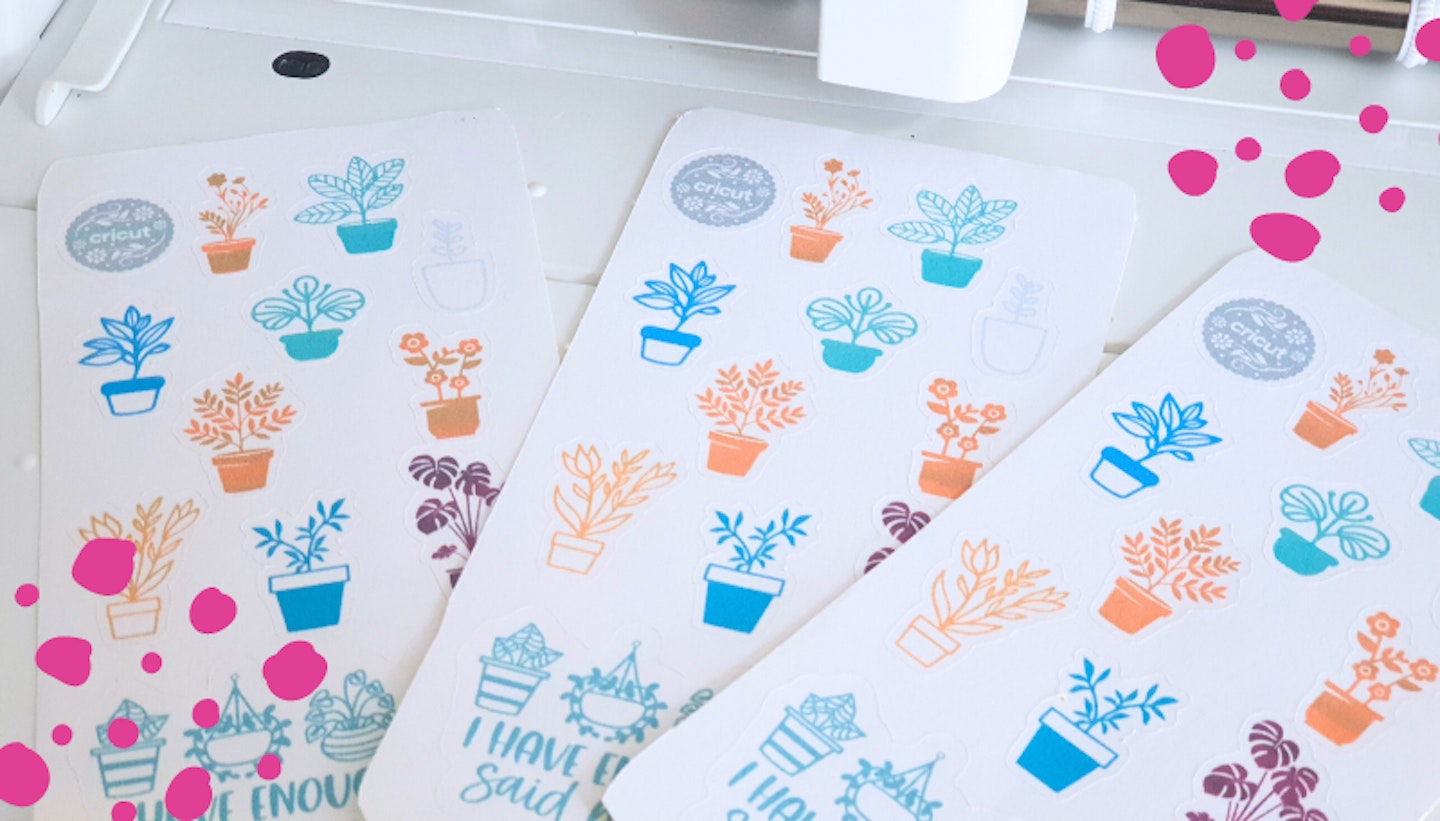
Here are the print-then-cut stickers I made:

With my first try the machine ended up cutting the stickers backwards so the cuts were completely misaligned with the shapes. This would have been very annoying if I had been using the sample materials that came with the machine and then ran out. The only thing I can say about the challenges I faced here is not to jump in the deep end straight away as it's not the most intuitive experience. It's a learning process for sure, but there are thousands of people who love Cricut, so I'm sure once I get past this initial learning curve there's lots of fun to be had.

What I did enjoy about making these stickers was choosing free designs from Design Space. There are loads to choose from and it was fun curating my sticker sheets. I think this would be fun for kids who could get involved in a project like this by choosing their favourite sticker designs to print then cut. Kids love stickers, right? I can also see it being useful for mums who like to make labels for organisation, or use stickers in planners and journals. Or, you know, you can just decorate your fridge!
One more thing I'd like to bring up is that I did come up against some connectivity issues when trying to do print-then-cut, due to my poor internet connection. This is definitely something to consider if you don't have home broadband. I was using my phone as a wifi hotspot and the connection can be unreliable. Because of this Design Space also seemed to work more slowly than I'd expect. You need a stable Bluetooth connection to use the Cricut Joy Xtra™, which I think is one of the main limitations of this machine, and a decent internet connection to use Design Space too.
Final Verdict
Overall, despite the challenges I faced when using the Cricut Joy Xtra™, I am still excited to carry on learning and see what new things I can create with it. I can see that there is the potential for lots of creativity and fun family projects. I think it will be very useful towards Christmas for making personalised gifts for friends and family, and if you have kids they can join in as a fun seasonal activity. I can imagine other personalised gifts throughout the year too, like teacher gifts, party decorations and rainy day activities. Vinyl decals and heat-transfer designs open up all sorts of opportunities for personalising clothes and belongings too.
I would only recommend this particular model of Cricut cutting machine to people who have a strong and reliable broadband internet connection. Keep in mind that you'll need to have patience or be disciplined enough to follow projects that are at your current user level. It's a great taster machine if you're thinking of investing in one of the more expensive ones later but want to have a play first to see if you like it. I think the price is fairly reasonable and there are always special offers, so keep an eye open for those. It's probably a bit pricey if you're only interested in making stickers though. However, it does a lot more than that and would make a great gift for ambitious crafty mums with young kids or families with teens. I'll be experimenting some more for sure, so watch this space!
Proud aunt to her teen niece, Zara Mohammed is a Digital Writer for Mother&Baby. She has 10 years freelance writing experience creating lifestyle content for various platforms, including pregnancy, women’s health, parenting, child development and child mental health, plus lots of fun seasonal family articles and celebrity news.
