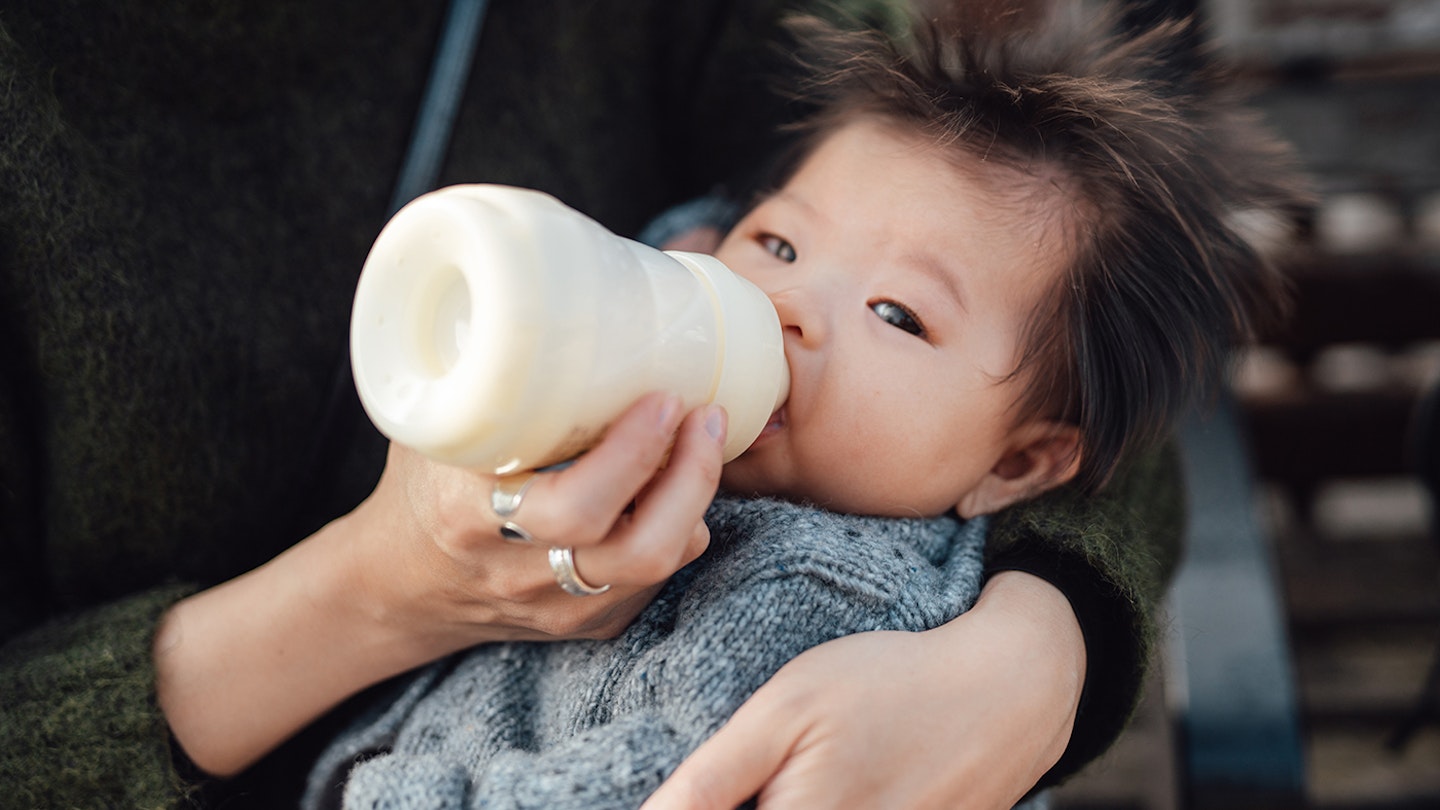
Milk is the perfect first food for your baby, as it’s easy to digest and full of all the nutrients your baby needs. But it also contains bacteria that can upset little tummies if traces are left on feeding equipment and given time to multiply, so you need a baby steriliser to clean them.
That’s why we sterilise our babies’ bottles, as this is the best way to kill bacteria. It makes it impossible for germs to survive and be passed on to your baby. This helps your child as they don't start producing germ-fighting antibodies until around six months old. By the time they reach their first birthday, your baby's body will be able to kill off bacteria all by itself.
What should I sterilise?
If you’re bottle-feeding your baby, you’ll need to sterilise bottles for as long as your baby is using them. Formula milk is not sterile and can contain bacteria.
This isn’t a problem unless the used bottle is left at room temperature when the bacteria can start to multiply within a few hours, which is why it’s vital to sterilise all feeding equipment before your baby’s next feed.
If you’re breastfeeding, sterilise shields if you use them. And if you express your milk, you’ll need to sterilise the breast pump and bottles.
Breastmilk can be kept longer than formula, as it contains enzymes that kill bacteria for 10 hours once it’s expressed, so it’s safe at room temperature for this long. But after 10 hours, new bacteria will appear and again need to be killed off before your baby’s next feed.
Related: How to sterilise a dummy
Clean everything before you start
Before sterilising you should:
• Wash your baby’s bottle, teats, retaining rings, caps and tongs in hot, soapy water, separately to all your other washing up, using a small teat bottle brush to clean the inside of teats.
• If you can, turn the teats inside out while washing to make sure any stubborn milk curds come off, as these can survive the sterilising process.
• You can put bottles in the dishwasher if they are dishwasher-safe, but not the teats, as they need to be thoroughly washed by hand. As you wash them, check the teats and bottles carefully and throw out any that are badly scratched, split or cracked, as bacteria can survive here.
• Then rinse off the soapy water in cold, running water before sterilising.
How to sterilise baby bottles and feeding equipment
There are a few different ways you can sterilise baby bottles and feeding equipment such as:
• Steam sterilising
• Cold water sterilising
• Boiling
• UV
Steam sterilising (electric steriliser or microwave)
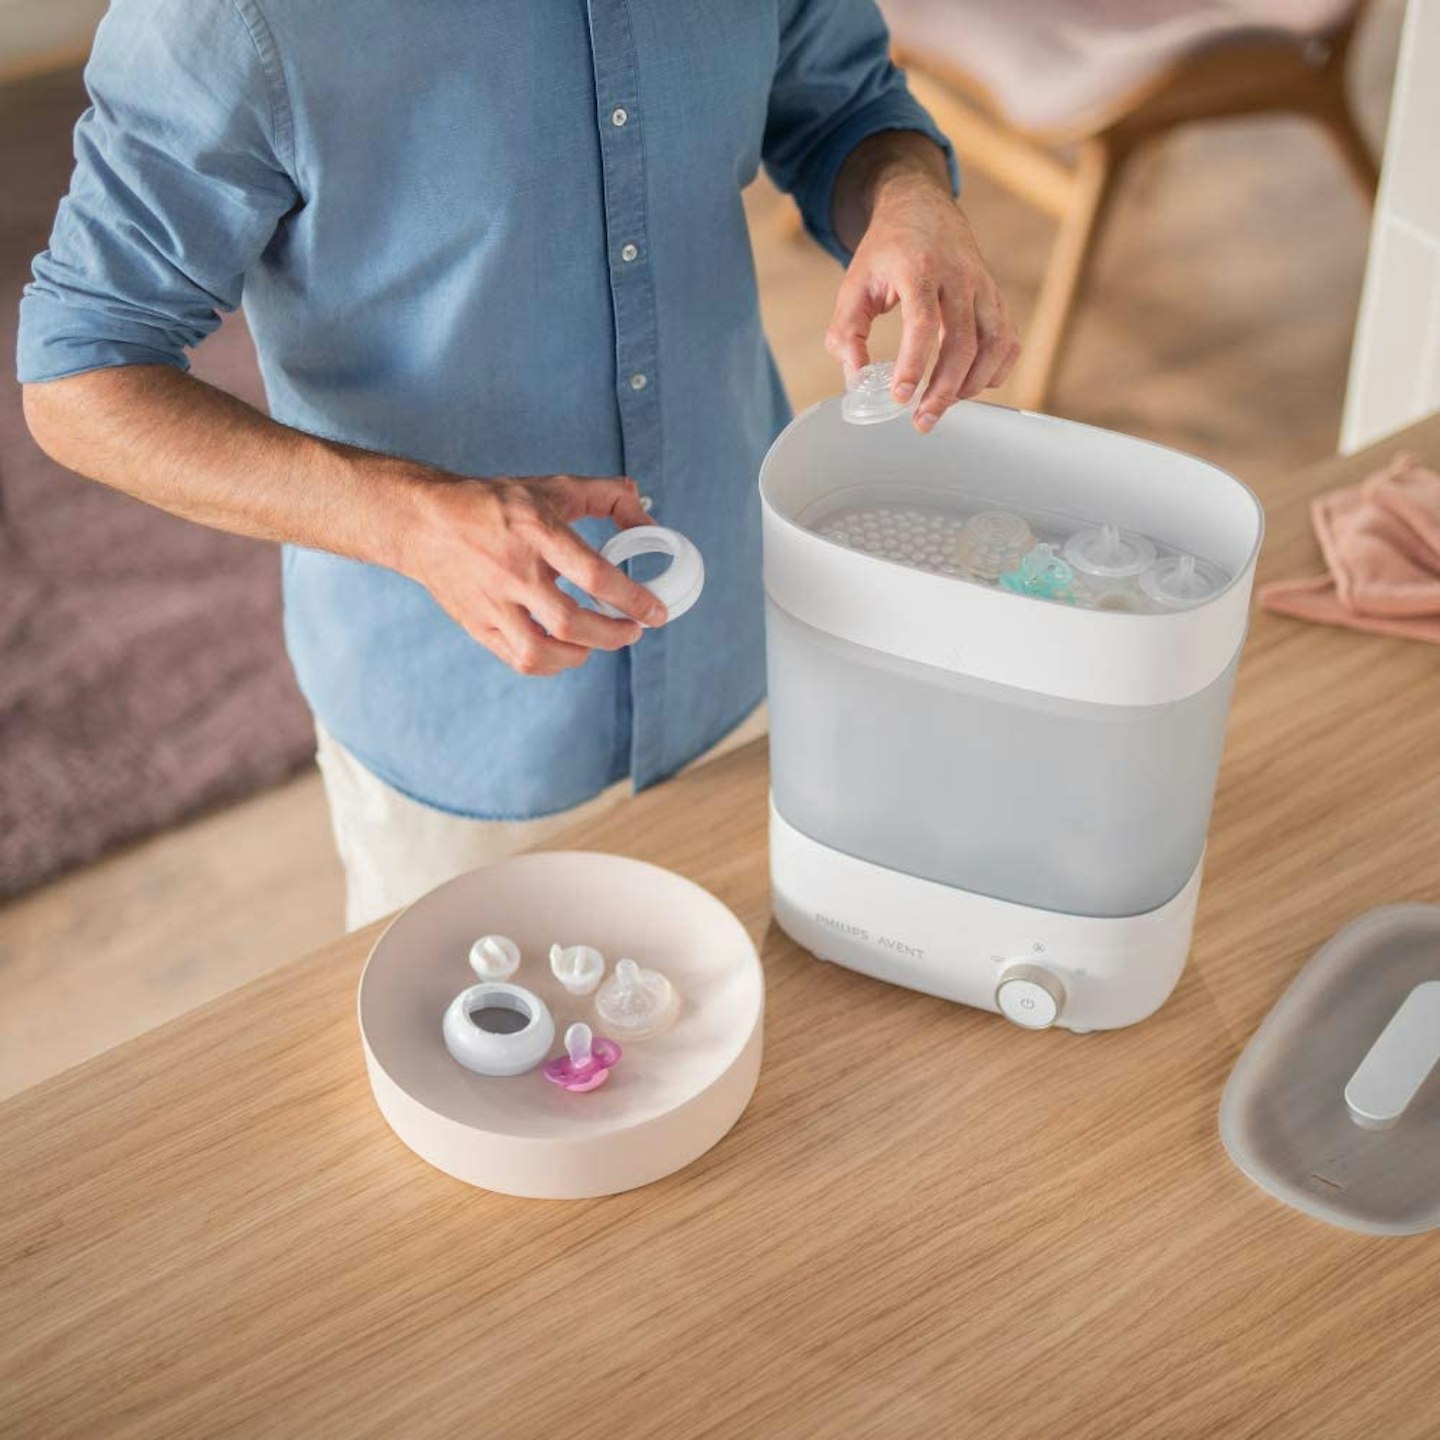
Steam sterilisers kill bacteria by blasting them with 100°C water vapour. Bacteria thrives at 37°C room temperature, but heating to over 100°C kills germs in the same way that it would damage our skin.
There are many different types of sterilisers on the market so it's important to follow the manufacturer's instructions.
You should load the steriliser by putting bottles in upside down, and don’t add more bottles than recommended. Place teats, rings and caps inside, and space them apart, so the steam can reach all surfaces.
Sterilising takes six to 15 minutes, depending on the model, and doesn’t use chemicals or require rinsing. Don’t open the lid until the end of the cooling cycle, as this dries the bottles while keeping them sterile. Manufacturers will provide guidelines on how long you can leave equipment in the steriliser before it needs to be sterilised again.
Microwave steam sterilisers also work by heating up water to generate steam.
Again, add the recommended amount of water to the basin and put bottles in upside down, and space out rings and teats to fully sterilise them. The time it takes depends on your microwave, but usually takes eight minutes in an 800 watt microwave, six minutes in a 850-1000 watt, and four minutes in a 1100 watt.

Sterilise in the microwave
You can also sterilise individual bottles in the microwave without a purpose-made steriliser. If you only occasionally feed with a bottle, this method might work well for you.
Before using, clean your microwave and wipe with anti-bacterial wipes. Then fill the bottle half-full with cold tap water and stand upright in the microwave. Next to it, put the teats, rings and caps in a small microwavable bowl, filled with enough cold tap water to cover them. Microwave on full power for one and a half minutes.
Cold water sterilising
You can also use sterilising fluid or tablets made from sodium chlorate to sterilise bottles in cold water.
This is a chemical that’s been purified, mixed in a salt-water solution. It’s two per cent strength, so is safe to use. Add the solution to a plastic container, either one that’s specifically designed for sterilising, or a simple Tupperware tub is fine.
Fill it with the required amount of cold tap water and add the sterilising tablet or liquid, dunk the bottles and equipment in the water until they are fully submerged and allow them to completely fill with water. Make sure that everything stays under the waterline by using a tray or lid on top of the bottles to weigh them down. The bottles must stay submerged for 30 minutes.
Take a bottle out as and when you need it – once taken out of the solution, a bottle should be used straight away, but it can be safely left in the solution for up to 24 hours. It’s fine to add a used-but-washed bottle to the tub during the day, as long as you wait 30 minutes before taking another one out.
You’ll need to change the solution every 24 hours, when you can dry the bottles with a clean paper towel, or leave them to air dry with the teats facing inside the bottle.

Sterilising by boiling
If you’re away from home, boiling is a handy way of sterilising bottles and feeding equipment, but it’s best not to use this method on a regular basis, as it can damage teats.
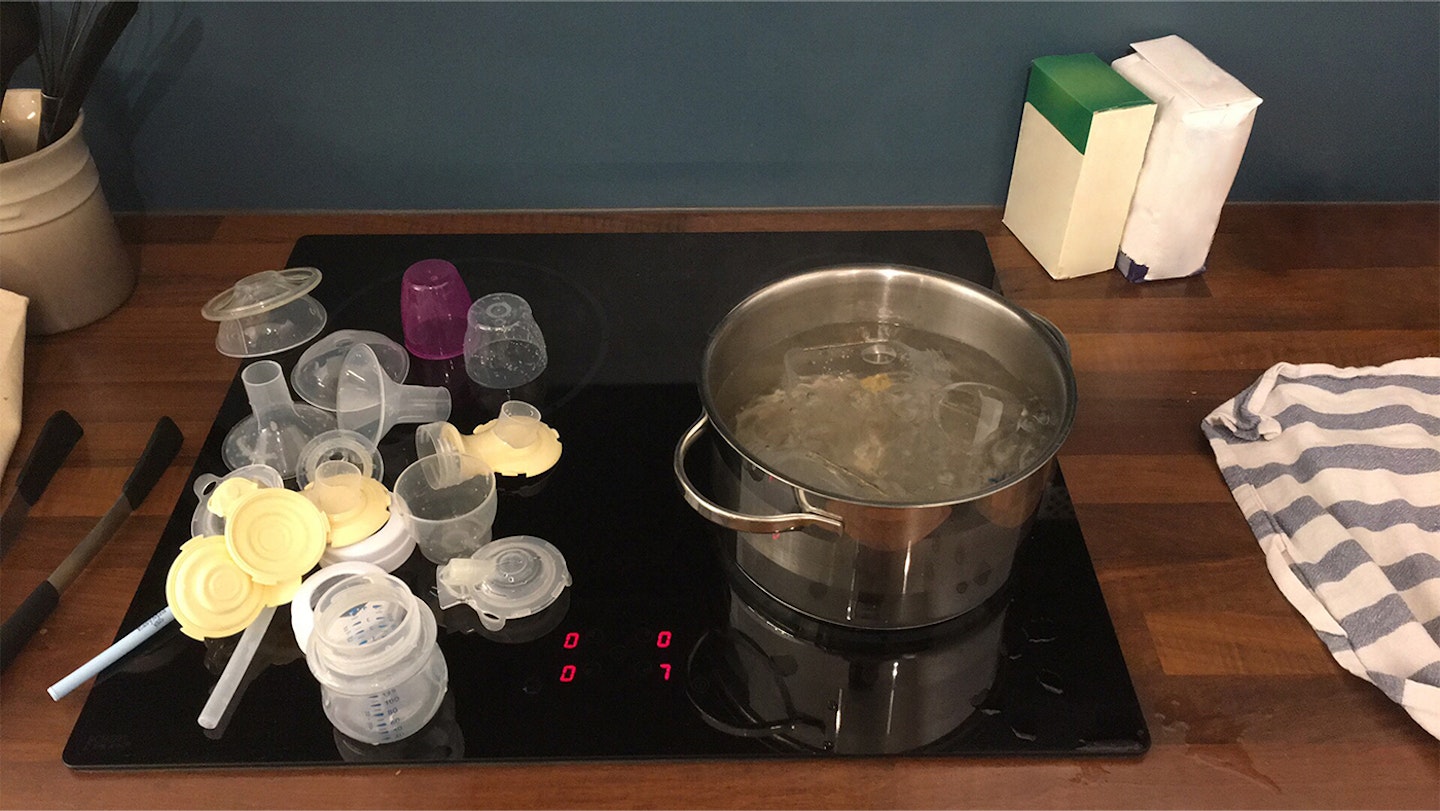
After checking the items you want to sterilise in this way are safe to boil, you’ll need a large pan with a lid or cover. Then add enough tap water to completely submerge the bottles and equipment and keep the water boiling for 10 minutes to kill the bacteria.
If you use plastic bottles, weigh them down with a heavy object, such as a smaller pan lid, so they don’t float to the surface. Ideally, bottles should be used as soon as they are sterilised, but if this isn’t possible, assemble them straight away to prevent the inside of the bottle and teat from becoming contaminated.
Regularly check that teats and bottles are not torn or damaged in anyway.
UV
UV sterilisers use special LED lights to emit UV, killing off bacteria safely and quickly. UV sterilisers are usually all used the same, all you do is pop your baby’s item into the steriliser, close it and push a button and within a few minutes, your baby’s item will be fully sterilised.
They require no water, tablets, heat or electricity, so they’re brilliant for if you’re out on the go with your baby. Once it’s sterilised your baby’s bottles and equipment the items can be used immediately after too, as they don’t need to be cooled down.
When should I stop sterilising?
There’s no need to sterilise bowls, plates, spoons and beakers once you start weaning, as it’s only the milk bacteria that causes problems.
By age one, your child will be able to fight off the bacteria for themself, so you can stop sterilising.
{#h-popular-articles-to-read-next}
